You know that saying, “You can’t judge a book by its cover?” Well, the same goes for houses. Just because the exterior of your house is looking a little shabby, doesn’t mean it’s time to start from scratch. With a little elbow grease and the right paint job, you can make your home look like new again. But how often should you paint the exterior of your house? That’s a question we get a lot at our paint store. The answer, of course, depends on several factors. But we’ve put together a few guidelines to help you out.
How to Pick The Right Paint for Your Home’s Exterior
There are a few things you need to consider when picking the right paint for your home’s exterior. The first is the type of siding you have. If you have wood siding, you’ll want to use a latex paint that’s specifically made for that material. For vinyl or aluminum siding, an acrylic paint is best.
The second thing to consider is the climate. If you live in an area with hot summers and cold winters, you’ll want to use a paint that can withstand those temperature extremes. A good all-around exterior paint is latex acrylic. Finally, you need to decide on the sheen of the paint. A high-gloss finish is best for trim and doors, while a flat or satin finish is best for the body of the house. Now that you know what to look for, head to your local home improvement store and get started on giving your home a fresh coat of paint!
How to Prep Your Home’s Exterior for Painting
Start at the top and work your way down. That’s the best way to avoid drips, runs and missed spots. And it’ll make it easier to work your way around obstacles like gutters, rooflines, windows and doors. Whether you’re using latex or oil-based paint, a little prep work will go a long way toward producing a polished finished product. If you’re painting over an existing surface, start by thoroughly cleaning all the dirt, mildew and chalking off the siding and trim. Be sure to repair any cracks or holes as well.

If you’re painting new construction, power-wash the siding and trim before primer goes on. This will remove any residual dust from construction and ensure that the primer adheres properly. Once your surfaces are clean and dry, apply painter’s tape to areas you don’t want paint to touch — window panes, gutters, eaves, bricks or other surfaces that won’t be painted. Remove all hardware like doorknobs, cabinets, pulls and switch plates. Lastly, fill any nail holes with spackling compound or painter’s putty so they’re level with the surface when you’re finished painting
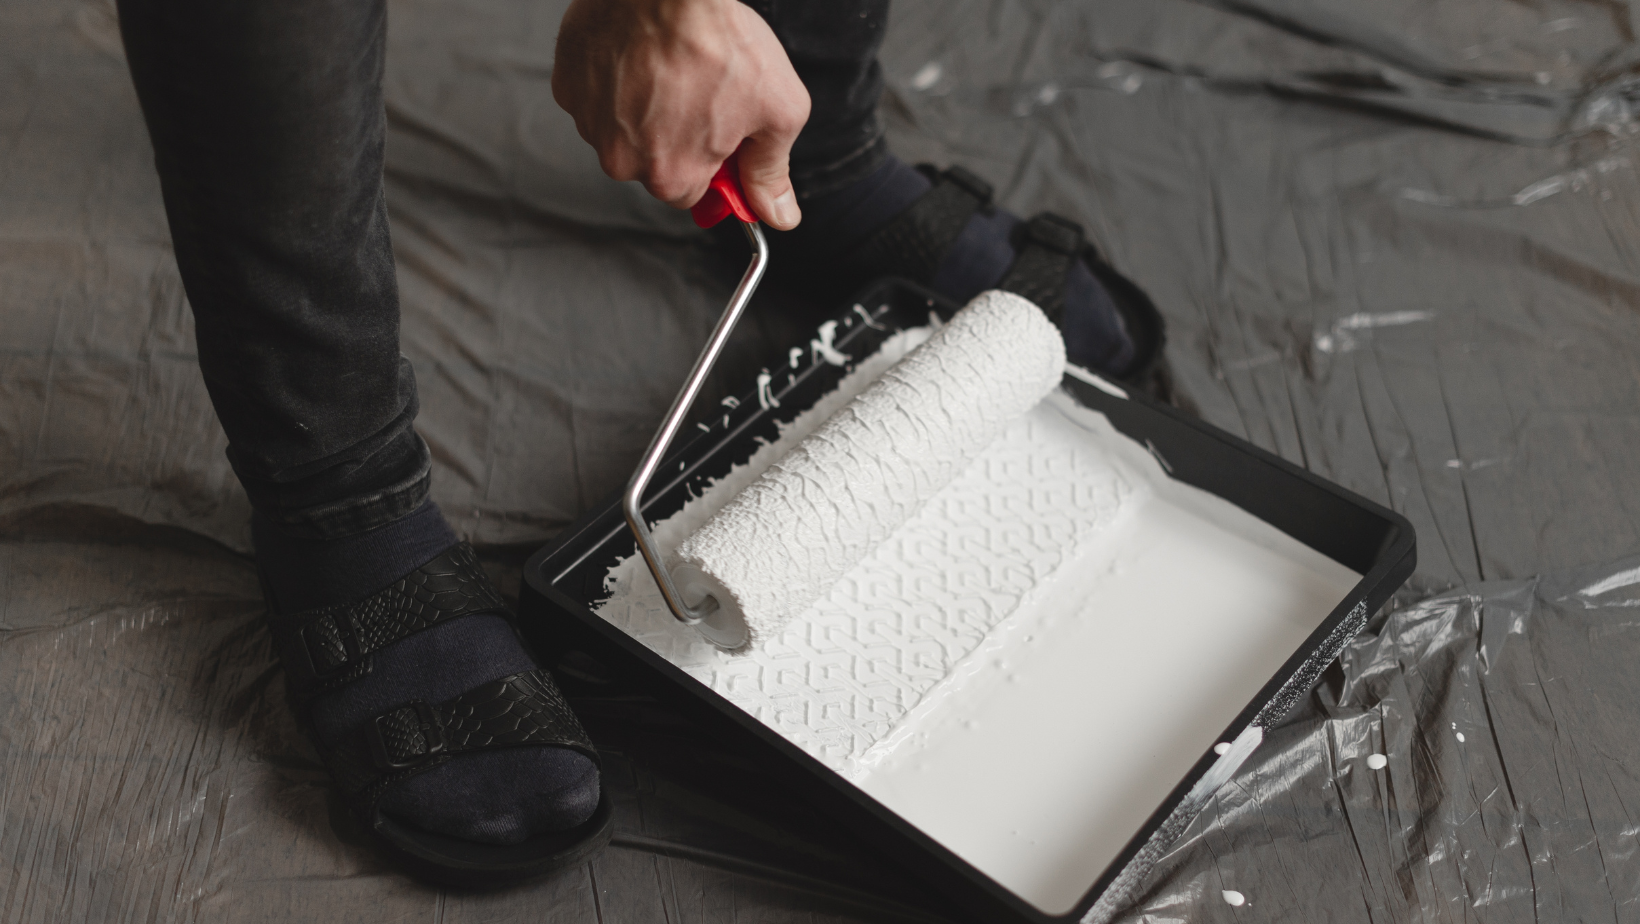
How to Paint Your Home’s Exterior Like a Pro
It’s easy to feel overwhelmed when undertaking a big project like painting your home’s exterior, but we’re here to help. This comprehensive guide will walk you through everything you need to know about painting your home’s exterior like a pro, from prep work to clean-up. We’ll cover the following topics:
-Choosing the right paint
-Preparing the surface
-Applying the paint
-Cleaning up
By the end of this guide, you’ll have all the knowledge you need to give your home’s exterior a fresh coat of paint that will last for years to come.
How Often to Paint Exterior of House
The frequency with which you should paint the exterior of your home depends on a number of factors, including the state of the current paint job, the location and climate, and the type of siding. In general, however, most experts recommend repainting every three to five years. If you live in an area with extreme weather conditions, you may need to repaint more frequently.
For instance, if you live in a place with a lot of wind and rain, the elements can take a toll on your paint job much faster than they would in a drier climate. There are also certain types of siding that need to be repainted more often than others. For example, if you have cedar siding, it should be stained or painted every three to five years to keep it in good condition.
What are The Best Exterior Paints for Your Home
Choosing the best exterior paint for your home can be a daunting task with all of the different options available on the market. But if you break it down by what you need, it can be a much simpler task. Here are a few things to keep in mind when shopping for exterior paint:
-The type of paint (oil- or water-based)
-The climate (hot, cold, humid, or dry)
-The material you are painting (wood, stucco, brick, or metal)
-The color
Once you have all of that information, narrow your choices down to two or three exterior paints and take some samples home to try out. Paint a large swatch on each side of your house and live with it for a few days before making your final decision.
How to Choose The Right Colors for Your Home’s Exterior
Your home’s exterior color scheme plays a pivotal role in its overall look and feel. From siding and shingles to trim and accents, choosing the right colors for your home’s exterior is essential to creating a cohesive and inviting space. But with so many colors to choose from, where do you even begin? To help you navigate the world of exterior color schemes, we’ve put together a helpful guide. From determining the right colors for your home’s style to picking complementary hues, we’ll walk you through everything you need to know to paint your home’s exterior like a pro.
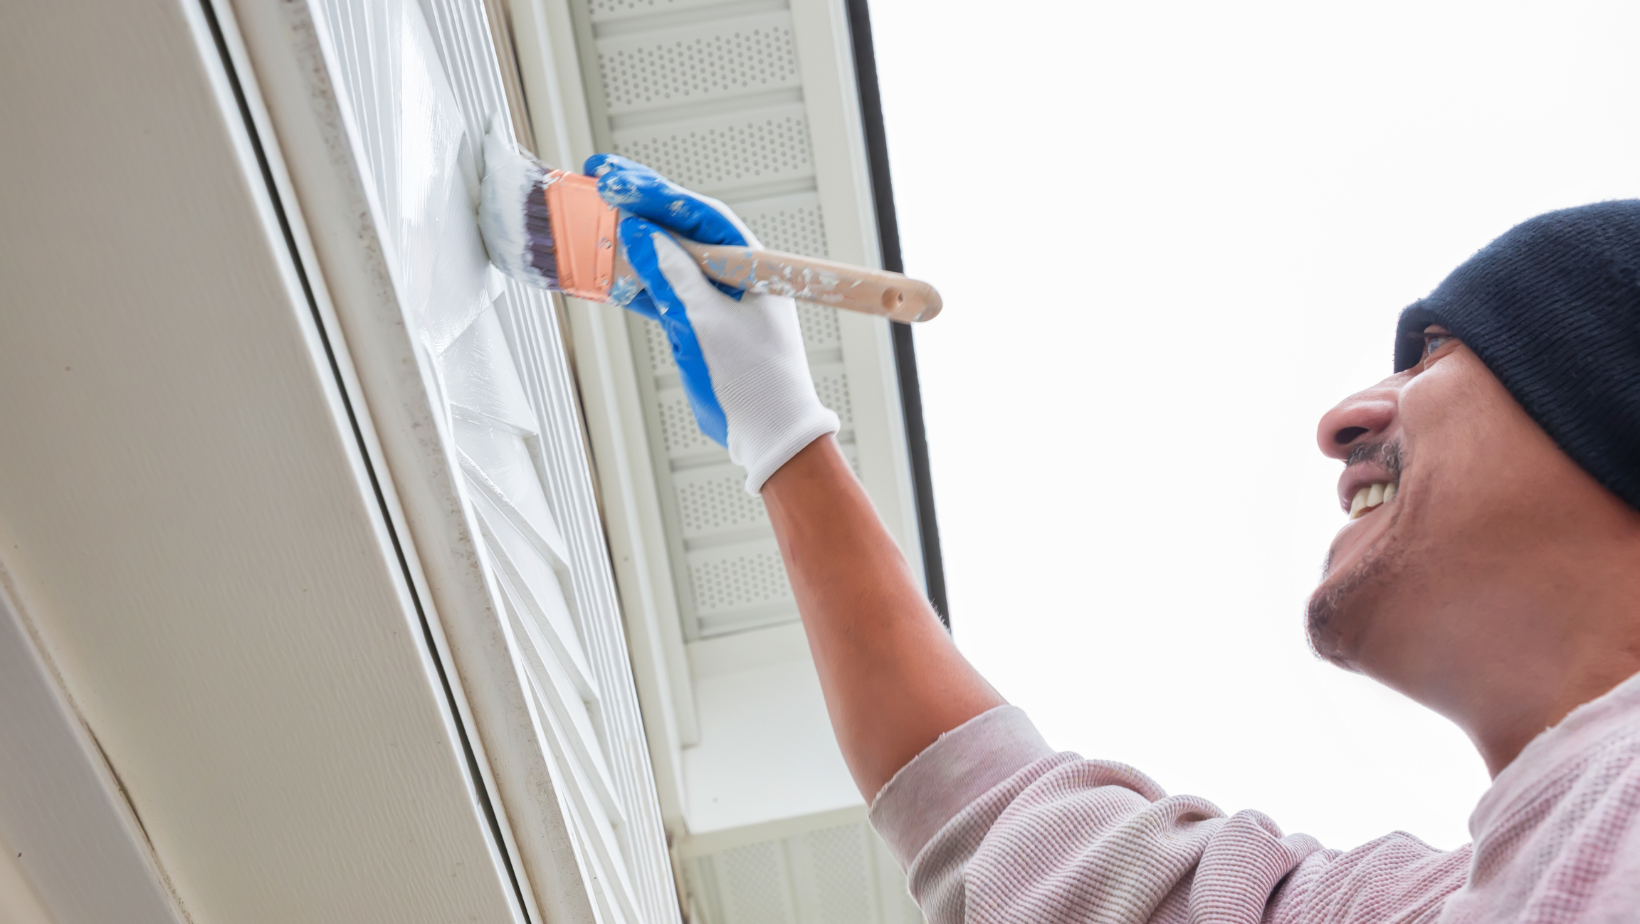
How to Paint Your Home’s Trim
One of the most important parts of painting the exterior of your home is having clean and well-maintained trim. The trim is what gives your home character and definition, so it’s important to take the time to do it right. Here are a few tips on how to paint your home’s trim like a pro:
1. Start by pressure washing the trim to remove any dirt, grime, or chalky residue.
2. Once the trim is dry, use a putty knife to fill in any cracks or holes.
3. Next, use a high-quality primer specifically designed for use on trim. This will help the paint adhere better and provide a more even finish.
4. Once the primer is dry, paint the trim with a high-quality exterior paint in the color of your choice. If you’re unsure of what color to choose, consult with a professional paint consultant or visit your local hardware store for advice.
5. Finally, seal the newly painted trim with a clear polyurethane sealer to protect it from the elements and extend its lifespan.
How to Paint your Home’s Shutters
Craftsman or Cape Cod? Traditional or modern? Your home’s shutter style helps determine the overall look of your house, so it’s important to choose the right paint colors. Here are some tips on how to pick colors that will complement your home’s style and give it curb appeal.
Shutters were originally designed to protect windows from bad weather, but today they are more decorative than functional. They come in a variety of styles, from the simple louvered shutters of a Cape Cod-style home to the more elaborate raised-panel shutters of a Colonial-style home. When choosing colors for your shutters, consider both the style of your home and the colors of your trim and siding.
If you have a Craftsman-style home, for example, shutters in earth tones such as terra cotta or olive green would be appropriate. If you have a Colonial-style home, white raised-panel shutters would be appropriate. And if you have a modern home, black or gray shutters would be a good choice.
No matter what style of home you have, remember that shutters are meant to be seen from a distance, so don’t get too caught up in choosing colors that match exactly. A little contrast can go a long way in making your shutters stand out.