Drywall for Garage
Thinking about transforming your garage into a functional space? One key element to consider is drywall. Adding drywall to your garage can have numerous benefits, from improving the overall appearance to enhancing insulation and creating a more comfortable environment. In this article, I’ll delve into drywall for garages, discussing its advantages, installation process, and potential considerations.
Drywall is an excellent wall finishing material for garages due to its durability and affordability. It provides a smooth, clean surface that can easily be painted or decorated according to your preferences. Moreover, installing drywall in your garage can help improve insulation by reducing drafts and temperature fluctuations.
When it comes to installing drywall in your garage, proper planning is crucial. Before starting the project, you’ll need to assess the condition of the existing walls, measure accurately, and gather all the necessary tools and materials. Additionally, it’s essential to consider any electrical outlets or wiring that may require adjustments during installation.
Preparing the Garage for Drywall Installation
When it comes to installing drywall in your garage, proper preparation is key. Before you begin this project, take the time to ensure that your garage is ready for the installation process. Here are some important steps to consider:
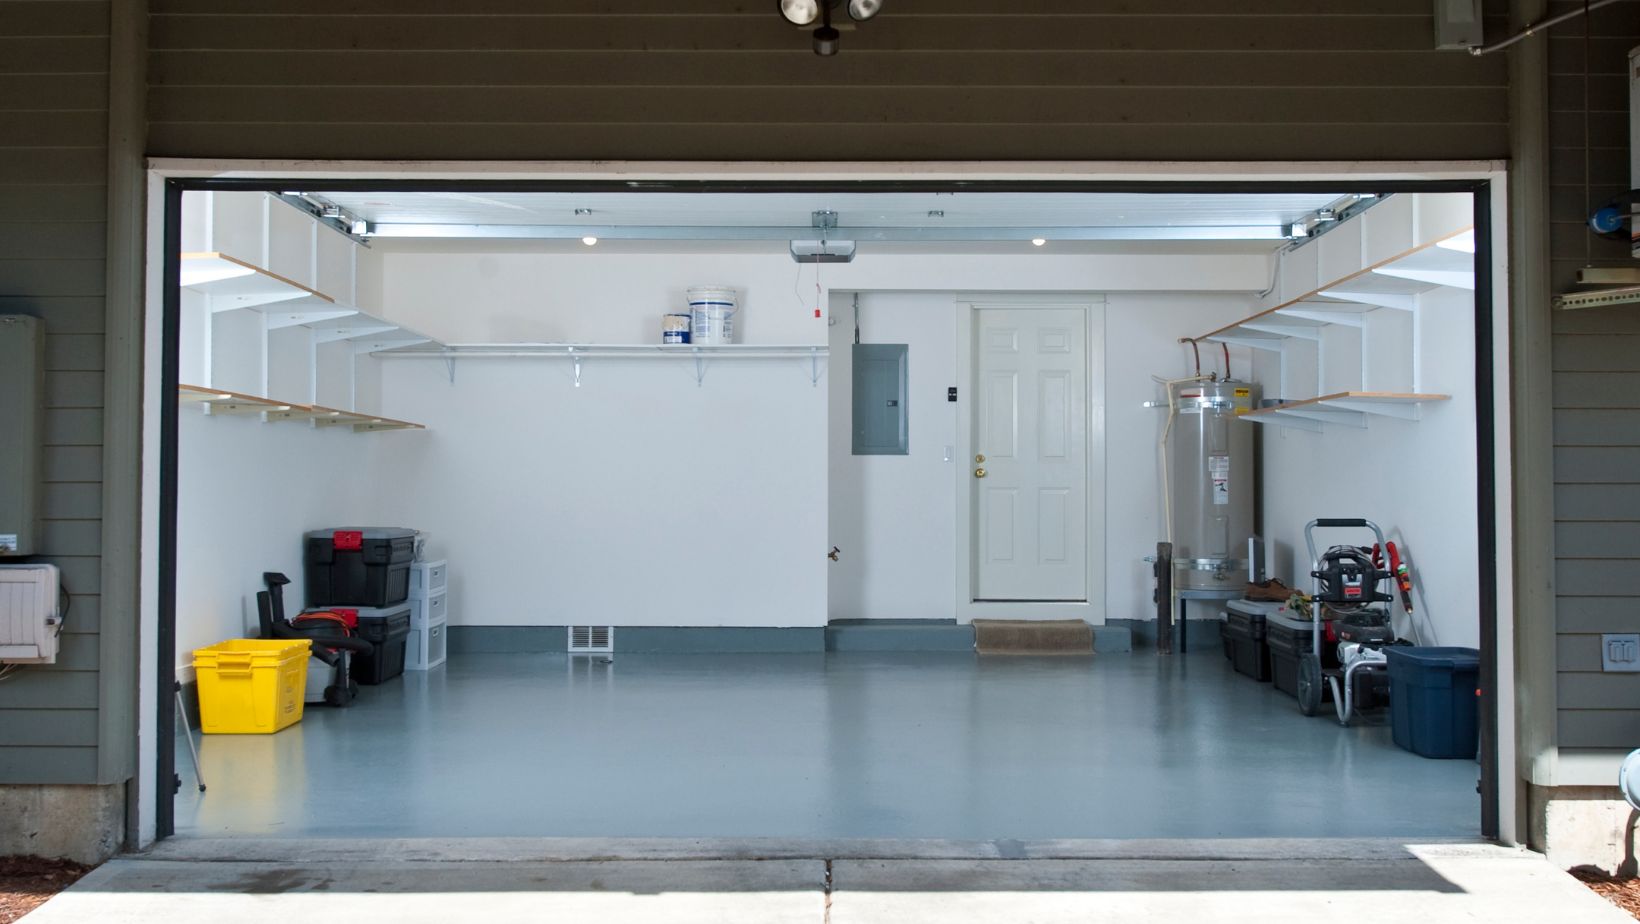
Clearing out the Space: Start by removing any items or clutter from your garage. This will give you a clean and spacious area to work with. Take this opportunity to declutter and organize your belongings as well.
Inspecting the Walls: Carefully examine the walls of your garage for any signs of damage or moisture. Look for cracks, holes, or water stains that may need repair before installing drywall. It’s essential to address these issues beforehand to prevent future problems.
Repairing and Patching: If you spot any cracks or holes in the walls, patch them up using a spackle or joint compound. Smooth out the surface and allow it to dry completely before moving forward with the installation process.
Addressing Moisture Concerns: Moisture can be a common issue in garages, especially if improperly insulated. Install insulation or use a moisture barrier on exterior walls if necessary. This will help protect your drywall from potential damage caused by humidity or condensation.
Cleaning and Prepping: Before starting the installation, thoroughly clean all surfaces where drywall will be placed. Remove dust, dirt, and grease using a broom, vacuum cleaner, or damp cloth. A clean surface ensures better adhesion and a smoother finish.
Measuring and Cutting Drywall Panels
When installing drywall in your garage, accurately measuring and cutting the panels is crucial for a smooth and professional-looking finish. Here are some steps to follow when tackling this task:
- Measure the area: Start by measuring the wall dimensions where you’ll install the drywall panels. Use a tape measure to determine the space’s height and width. Take note of any openings, such as windows or doors, requiring special attention during cutting.
- Transfer measurements: Once you have them, transfer them onto the drywall panels using a pencil or chalk line. Be sure to mark both the height and width dimensions accurately.
- Score and snap: To cut straight lines on drywall, use a utility knife with a sharp blade to score along your marked lines. Apply firm pressure while making multiple passes until you’ve scored through the paper layer of the panel.
- Snap off excess: After scoring, carefully bend the panel along the scored line with one hand while firmly pressing down on the opposite side of the cut. This should create a clean break along your intended line.
- Cut irregular shapes: For openings like windows or doors, create an outline by tracing around them onto your drywall panel using a pencil or marker. Then, use a jab or keyhole saw to cut along these curved or irregular lines carefully.
- Smooth edges: Once all your panels are cut, use sandpaper or a rasp to smooth any rough edges or imperfections before installation.
Accuracy is key when measuring and cutting drywall panels for your garage project. Taking your time and double-checking measurements will ensure that everything fits properly and save you from unnecessary frustration later on.