Wooden Shelves for Garage
Are you tired of your garage being cluttered and disorganized? Look no further than wooden shelves for your garage. These versatile storage solutions are a game-changer when it comes to maximizing space and keeping everything in order.
Wooden shelves offer durability and strength, making them perfect for storing heavy tools, equipment, and boxes. Their sturdy construction ensures that they can withstand the weight of various items without bending or breaking. With adjustable shelving options available, you can customize the height between shelves to accommodate objects of different sizes.
Not only are wooden shelves functional, but they also add a touch of warmth and elegance to your garage. The natural grain patterns and rich colors of wood create an inviting atmosphere while complementing other elements in the space. Whether you prefer a rustic look or a more contemporary style, there’s a wide range of wooden shelf designs to choose from.
Step-by-Step Guide to Installing Wooden Shelves in Your Garage
If you’re looking for a practical and efficient storage solution for your garage, installing wooden shelves is a great option. Not only do they provide ample space to organize your tools, equipment, and other items, but they also add a touch of warmth and elegance to the overall look of your garage. In this step-by-step guide, I’ll walk you through the process of installing wooden shelves in your garage.
- Measure and Plan: Before diving into any DIY project, it’s crucial to start with accurate measurements and a solid plan. Measure the dimensions of your garage walls where you intend to install the shelves. Take note of any obstacles such as electrical outlets or pipes that may affect the placement of the shelves. With these measurements in hand, you can determine how many shelves you need and their appropriate sizes.
- Gather Materials: Once you have your measurements ready, gather all the necessary materials for this project. You’ll need sturdy wooden boards for the shelf planks, brackets or shelf supports for stability, screws or nails to secure everything together, a level tool for ensuring straightness, a drill or screwdriver for installation purposes, and safety equipment like goggles and gloves.
- Install Brackets: Begin by attaching the brackets or shelf supports onto the wall at predetermined intervals based on your desired shelving layout. Make sure they are securely fastened using appropriate hardware that matches both the bracket type and your wall material (e.g., drywall anchors if needed).
By following these step-by-step instructions, you’ll be able to successfully install wooden shelves in your garage. Remember, safety should always come first, so make sure to wear appropriate protective gear and exercise caution throughout the process. With your new shelves in place, you’ll have a well-organized garage where everything has its designated spot, making it easier than ever to find what you need when you need it.

Organizing Tools and Equipment on Your Garage Wooden Shelves
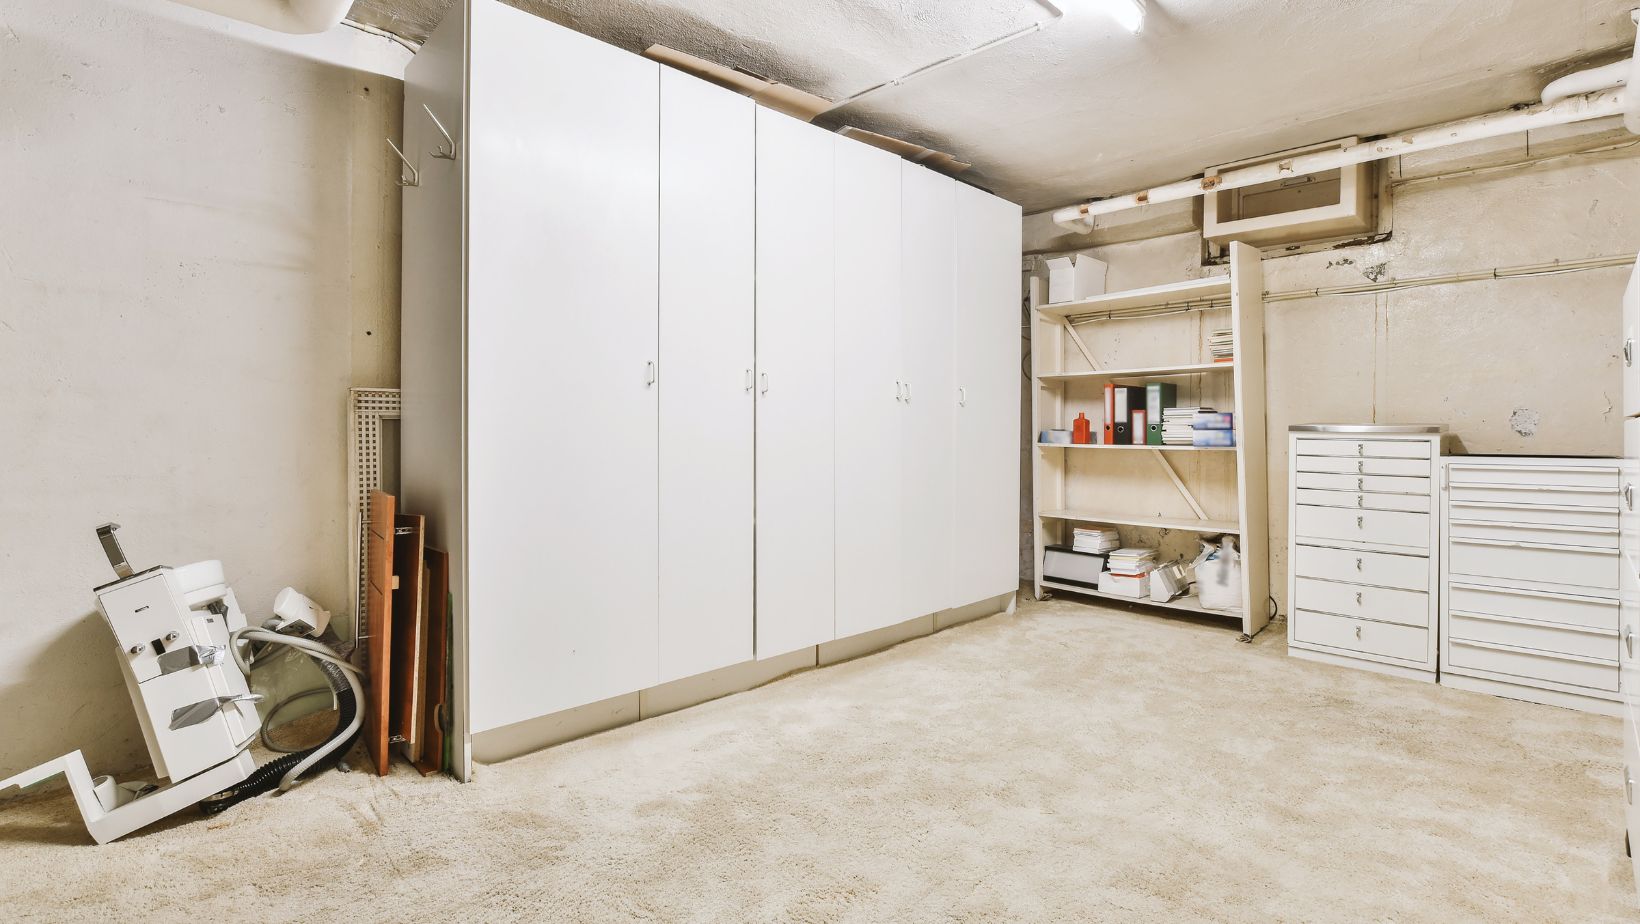
When it comes to maximizing storage space in your garage, wooden shelves can be a game-changer. Not only do they provide a sturdy and durable storage solution, but they also add a touch of rustic charm to your space. In this section, I’ll share some tips and ideas for organizing your tools and equipment on your garage wooden shelves.
- Categorize and sort:
Before you start placing items on your wooden shelves, it’s important to categorize and sort them. This will make it easier for you to find what you need later on. Group similar tools or equipment together, such as power tools, gardening supplies, or automotive accessories.
- Utilize bins or containers:
To keep smaller items organized and prevent them from getting lost in the shuffle, consider using bins or containers on your wooden shelves. Clear plastic bins are ideal as they allow you to see what’s inside without having to rummage through each one.
- Label everything:
To further enhance organization and save time searching for specific items, label each bin or container with its contents. This simple step will streamline the process of finding what you need when you need it.
- Prioritize accessibility:
Think about which tools or equipment you use most frequently and place them within easy reach on your garage wooden shelves. Items that are used less often can be stored higher up or towards the back of the shelves.
- Optimize vertical space:
Make full use of the vertical space available by installing additional shelving units above your existing ones if needed. This way, you can store more items without sacrificing valuable floor space in your garage.
By following these tips for organizing your tools and equipment on your garage wooden shelves, you’ll create a more efficient and functional space. Remember to regularly declutter and reassess your storage needs to maintain an organized garage that suits your specific requirements.