When it comes to choosing the right flooring for your garage, laminate flooring is a popular and practical option to consider. Laminate flooring for garages offers a range of benefits that make it an attractive choice for homeowners.
One of the key advantages of laminate flooring for garages is its durability. Garage floors are subjected to high levels of foot traffic, heavy vehicles, and potential spills or stains. Laminate flooring is designed to withstand these challenges, as it is made with multiple layers that provide strength and resistance against wear and tear.
Another benefit of laminate flooring in the garage is its easy maintenance. Unlike other types of flooring, such as concrete or epoxy coatings, laminate does not require extensive cleaning or sealing. Regular sweeping and occasional mopping are usually sufficient to keep the floor looking clean and well-maintained.
Laminate Flooring for Garage
When it comes to choosing the right flooring option for your garage, laminate flooring emerges as a practical and stylish choice. With its durability, easy installation process, and versatile design options, laminate flooring can transform your garage into a functional and attractive space.
Durability and Resilience
One of the key reasons to choose laminate flooring for your garage is its exceptional durability. Designed to withstand heavy foot traffic, impact, and abrasion, laminate floors are built to last. Whether you use your garage as a workshop or parking area, laminate flooring can handle the wear and tear associated with daily activities.
Moreover, laminate flooring is resistant to moisture and stains. This feature makes it an ideal choice for garages where spills or leaks may occur. The protective layer on top of the laminate helps guard against water damage while making clean-up a breeze.
Versatile Design Options
Laminate flooring offers an array of design options that can elevate the aesthetics of your garage. From wood grain patterns that add warmth and sophistication to stone-inspired textures that create an industrial look, there’s a wide range of styles available to suit any preference.

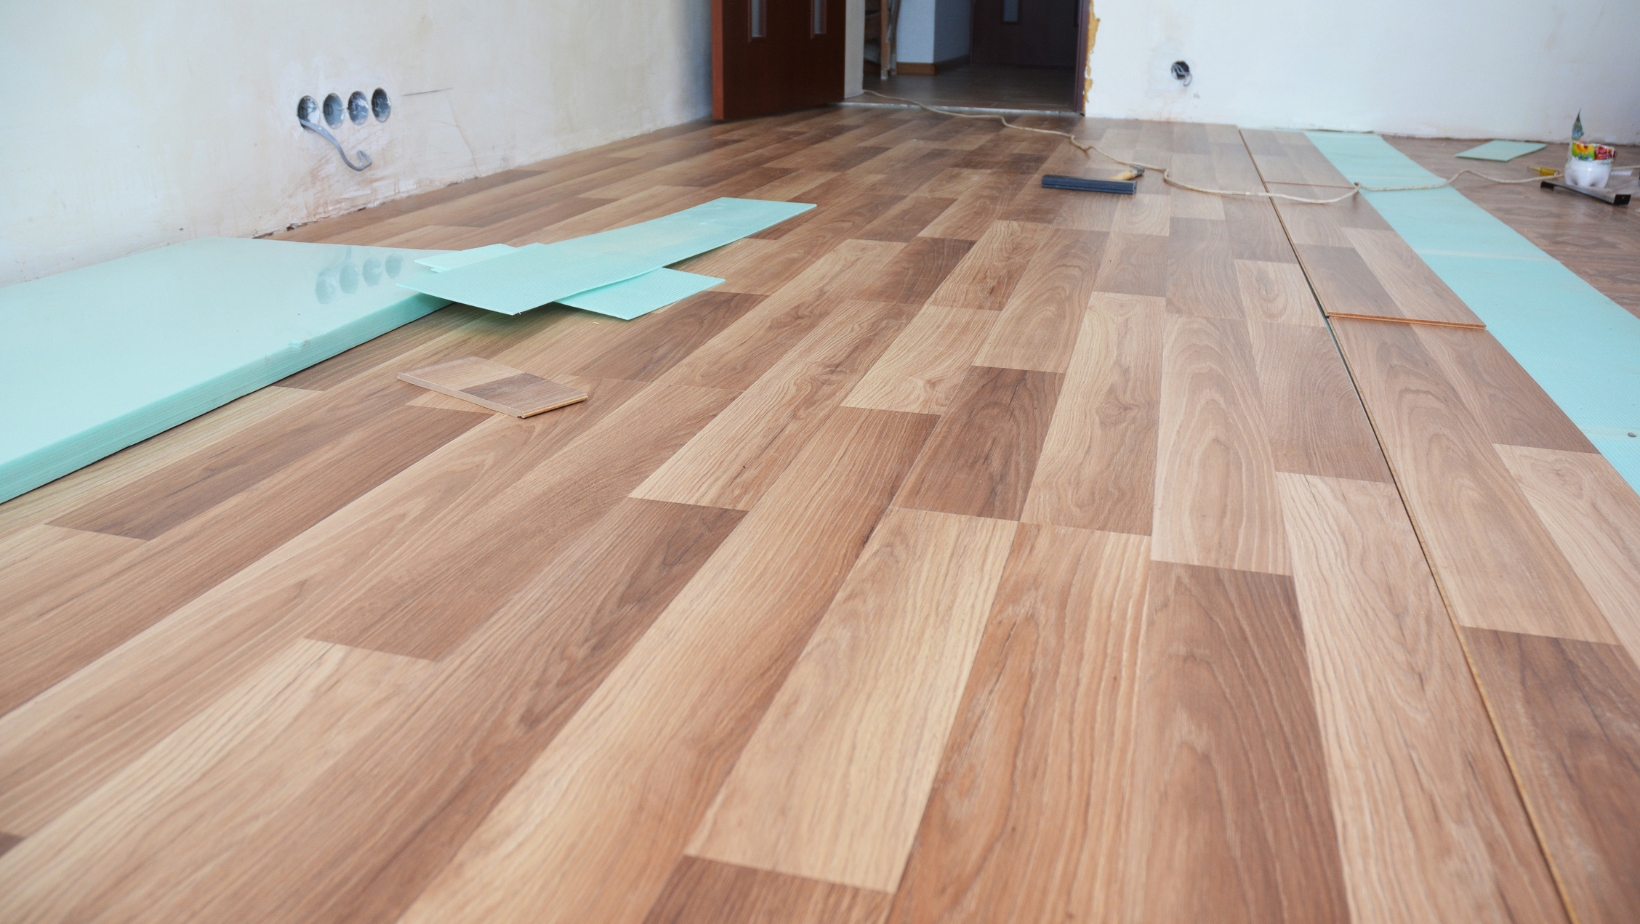
Installation Process for Laminate Flooring in Garages
When it comes to installing laminate flooring in your garage, there are a few key steps to follow. With the right tools and techniques, you can transform your garage into a functional and visually appealing space. Here’s a breakdown of the installation process:
- Prepare the Garage: Before laying down the laminate flooring, it’s important to prepare the garage properly. Start by clearing out any items or debris from the area. Sweep or vacuum the floor thoroughly to ensure it’s clean and free of dust.
- Check for Moisture: Garages are prone to moisture issues, so it’s crucial to check for any signs of dampness or water leaks. Use a moisture meter to test the concrete slab for excessive moisture levels. If high moisture is detected, you may need to address this issue before proceeding with laminate flooring installation.
- Acclimate the Laminate: Laminate flooring needs time to adjust to its surroundings before installation. Open up all packaging and allow the planks to acclimate in your garage for at least 48 hours. This helps prevent any potential warping or buckling after installation.
- Install Underlayment: A quality underlayment is essential for laminate flooring in garages as it provides cushioning, sound absorption, and acts as a moisture barrier. Roll out the underlayment across the entire floor area and trim off any excess using a utility knife.
- Begin Installation: Start by laying down the first row of laminate planks against one wall, leaving an expansion gap between them and the wall (usually around 1/4 inch). Use spacers along each side of every plank to maintain consistent spacing throughout.
- Click Lock System: Most laminate flooring comes with a click-lock system that makes installation easier and more efficient. Simply align each plank at an angle and then snap them together until they lock firmly in place.
- Cutting and Fitting: As you progress with the installation, you’ll likely encounter areas where the planks need to be trimmed or cut to fit around obstacles such as support columns or doorways. Use a miter saw or jigsaw to make accurate cuts and ensure a seamless fit.
- Complete the Installation: Continue installing the laminate flooring row by row until you reach the opposite wall. Remember to maintain that crucial expansion gap along all edges. If necessary, use a pull bar and tapping block to help secure tight connections between planks.
- Finishing Touches: Once all the laminate flooring is installed, remove any spacers and install baseboards or quarter round molding around the perimeter of the garage for a polished look. This not only enhances aesthetics but also helps hide any gaps left for expansion.
By following these steps, you can successfully install laminate flooring in your garage and enjoy its numerous benefits such as durability, ease of maintenance, and improved aesthetics. Make sure to choose high-quality laminate specifically designed for garage use to ensure long-lasting performance.