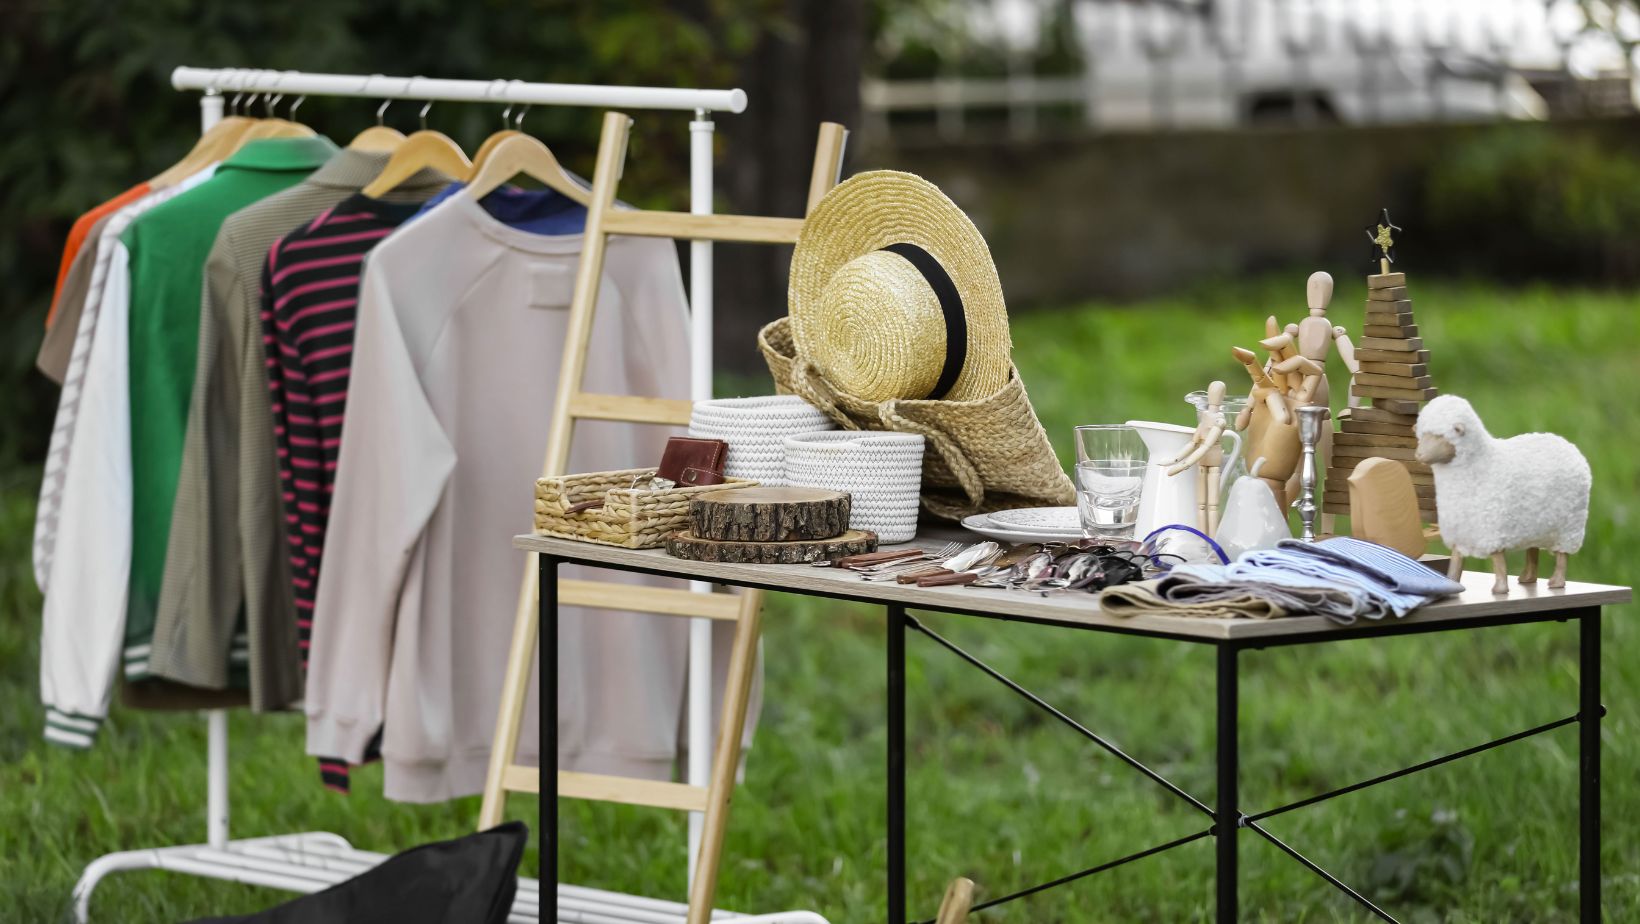
DIY Clothes Rack For Garage Sale
Looking to organize your garage sale? A DIY clothes rack might just be the solution you need. Instead of spending money on expensive racks or struggling with flimsy alternatives, creating your own clothes rack can be both cost-effective and efficient. With a few simple materials and a little bit of creativity, you can have a sturdy and stylish display for your garments in no time.
One advantage of making your own clothes rack is the flexibility it offers. You can customize the size and design to fit your specific needs. Whether you’re selling clothes, accessories, or even handmade crafts, having a well-designed rack can attract more customers and make browsing easier.
Not only will a DIY clothes rack save you money, but it also allows you to repurpose items you may already have at home. From using PVC pipes or wooden dowels as the main structure to repurposing ladders or old doors as supports, there are countless ways to get creative with this project. Plus, by making it yourself, you’ll have a sense of accomplishment when seeing your neatly organized merchandise displayed on the finished rack.
So why spend unnecessary money when you can create your own clothes rack for your garage sale? Get ready to impress customers with an eye-catching display while keeping costs low with this practical and fun DIY project. Let’s dive into the step-by-step instructions and unleash our inner designer!

Assembling the Base Frame
Let’s dive into the process of assembling the base frame for your DIY clothes rack. This step is crucial as it provides stability and support for your rack, ensuring that it can hold all those fantastic garments you’ll be showcasing at your garage sale. Follow these steps to create a sturdy foundation:
- Start by gathering the necessary materials: You’ll need sturdy wooden boards or metal pipes, screws or nails, a measuring tape, a drill (or hammer), and a level. Make sure you have all these items before you begin.
- Measure and cut the boards: Use your measuring tape to determine the desired length and width of your clothes rack. Mark these measurements on your wooden boards or metal pipes, then use a saw (or pipe cutter) to cut them accordingly. Remember to double-check your measurements before cutting to ensure accuracy.
- Assemble the sides: Take two of the cut boards (or pipes) that will serve as the vertical supports for each side of your base frame. Hold them upright so that their ends are aligned parallel to each other. Using screws or nails, secure them together at both ends.
- Connect the horizontal beams: Take another board (or pipe) that will act as the horizontal beam connecting both sides of your base frame. Position it perpendicular to the vertical supports at one end and secure it with screws or nails. Repeat this step for additional horizontal beams if needed.
- Check for stability: Once all components are assembled, use a level to ensure that your base frame is balanced correctly and not leaning in any direction. Adjust as necessary by tightening or loosening screws until it is stable.
Now that you’ve successfully assembled the base frame for your DIY clothes rack, you’re one step closer to creating an organized display for your upcoming garage sale! In our next section, we’ll explore how to add additional features such as hanging rods and shelves – stay tuned!