Preparing your garage floor for epoxy is an essential step in ensuring a successful and long-lasting coating. Whether you’re planning to transform your garage into a polished showroom or simply looking for a durable and easy-to-clean surface, proper preparation sets the foundation for a flawless epoxy application.
One of the first things you’ll need to do is clean the garage floor thoroughly. This involves removing any dirt, oil stains, or previous coatings that might interfere with the bonding of the epoxy. I’ll share some effective cleaning methods and tips to ensure your floor is free from contaminants and ready for its makeover.
After cleaning, it’s important to assess and repair any damage on the surface of your garage floor. Cracks, chips, or uneven areas can compromise the integrity of the epoxy coating. By addressing these issues before applying epoxy, you’ll achieve a smoother finish and prevent future problems. In this article, I’ll guide you through different techniques to repair common flaws in concrete floors.
By following the right steps to prep your garage floor for epoxy, you’ll create an optimal surface that allows for maximum adhesion and durability of the coating. Join me as we explore each stage of preparation in detail so that you can confidently tackle this DIY project and enjoy a stunning garage space that stands up to wear and tear over time. Let’s get started!
Prep Garage Floor For Epoxy
Preparation Steps for Epoxy Garage Floor
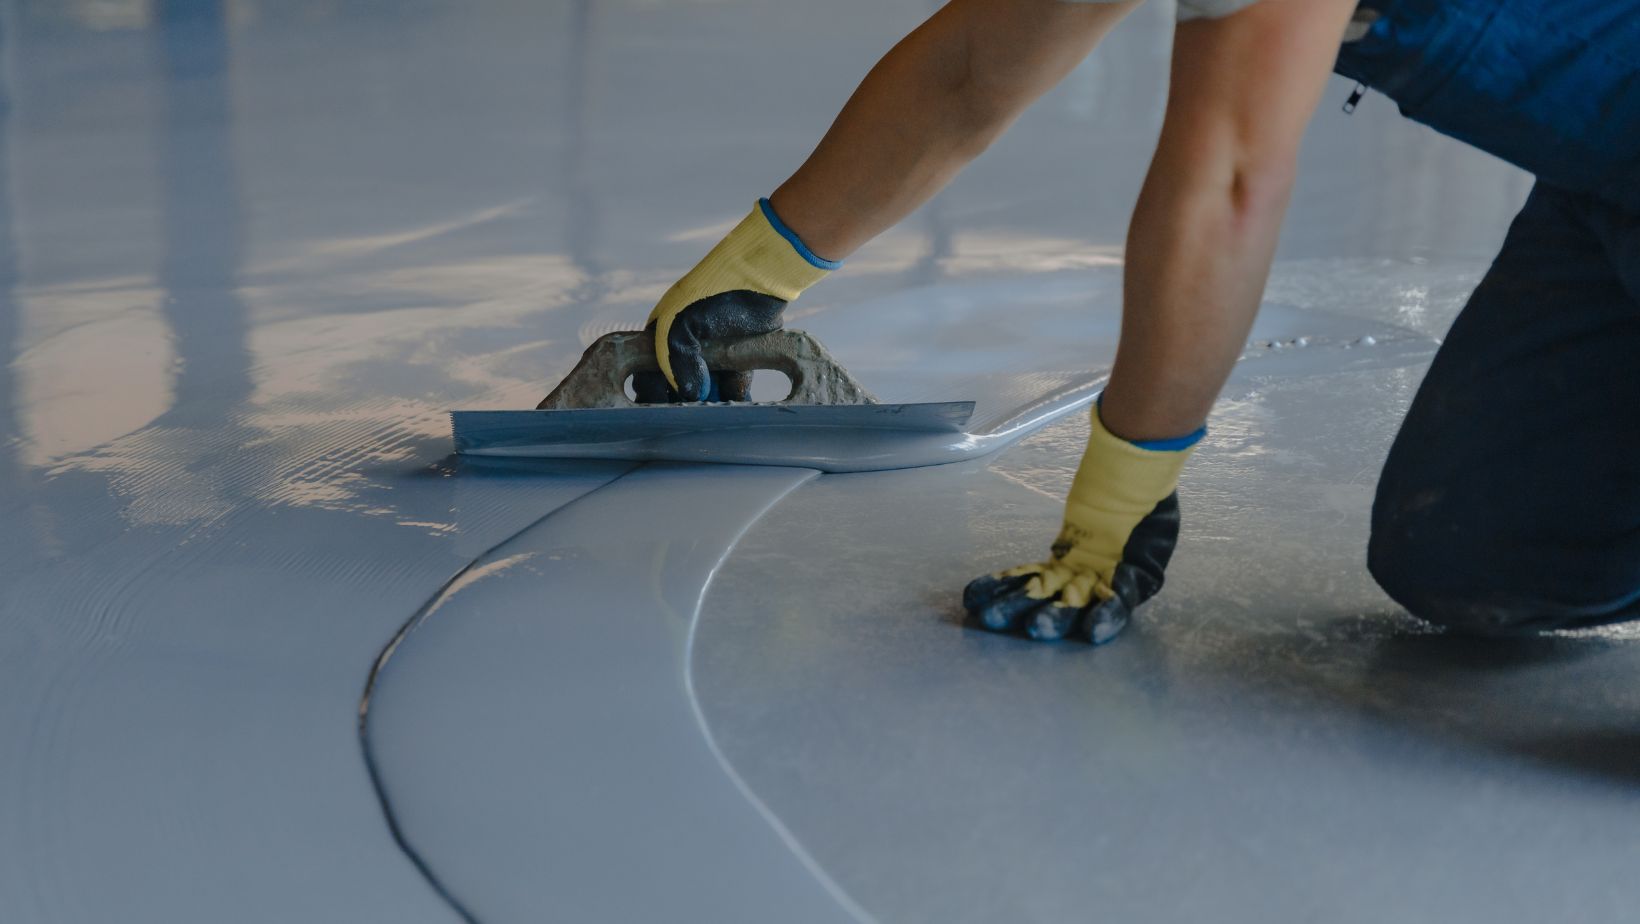
When it comes to applying epoxy on your garage floor, proper preparation is crucial. Before diving into the application process, it’s essential to take the necessary steps to prepare your garage floor adequately. Here are some key preparation steps to consider:
- Clean and Remove Debris: Begin by thoroughly cleaning the garage floor surface. Sweep away any dirt, dust, and loose debris. Use a pressure washer or a degreaser to eliminate oil stains or other stubborn substances that may interfere with the epoxy’s adhesion.
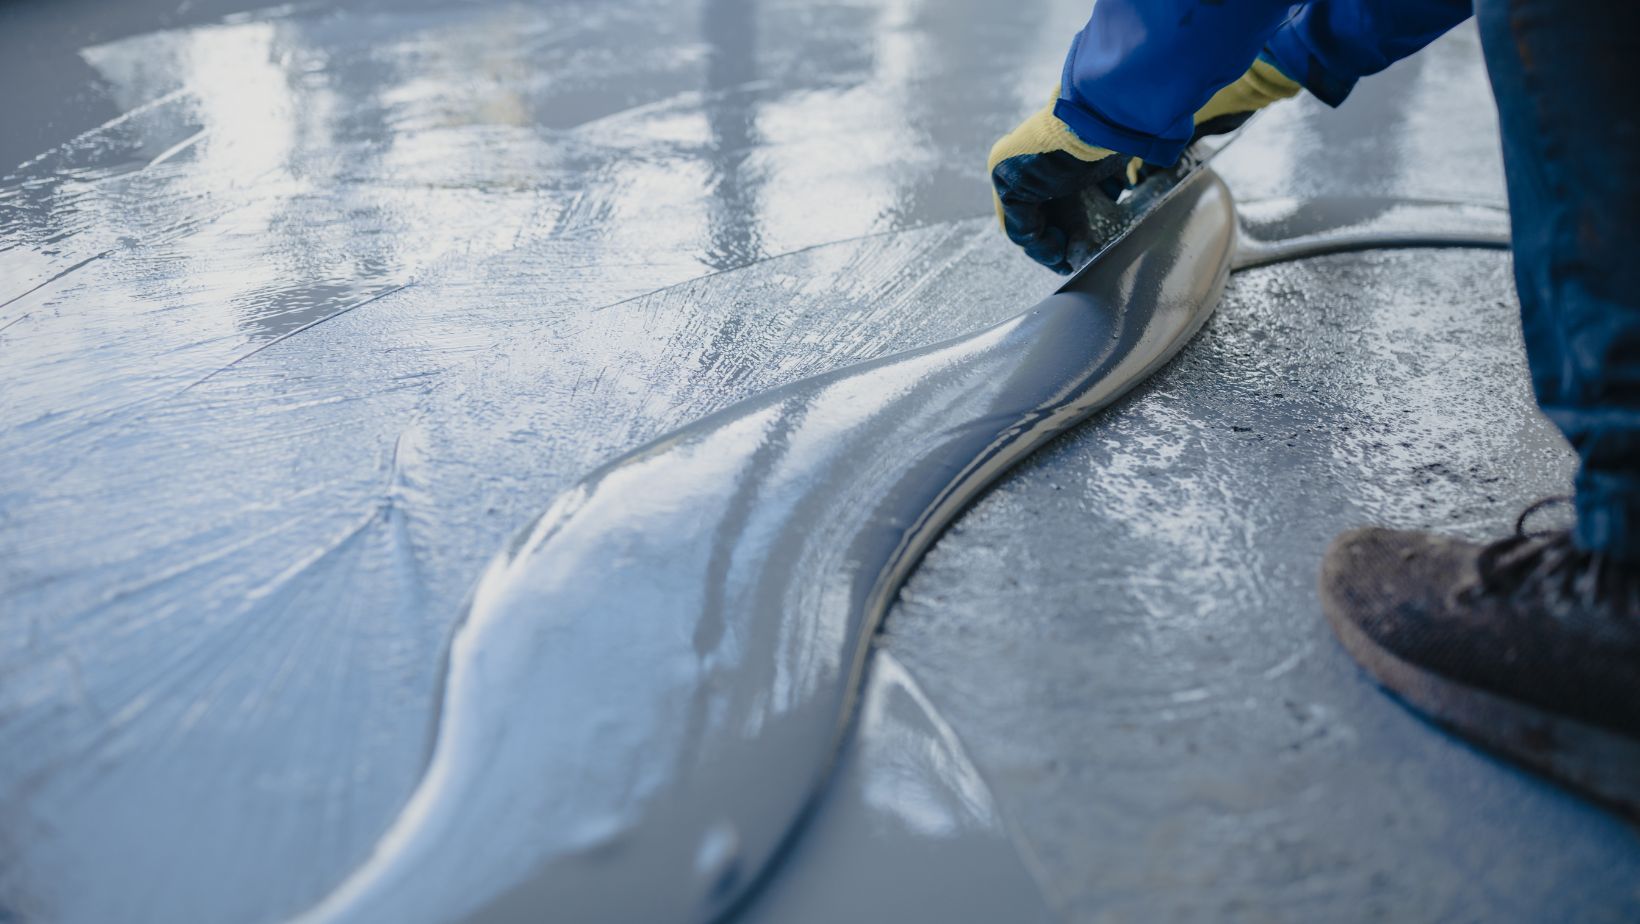
- Repair Any Cracks or Damage: Inspect your garage floor for any cracks, potholes, or imperfections. Fill in these areas with an appropriate concrete patching compound and smooth them out using a trowel. This step ensures a level and even surface for the epoxy coating.
- Etch the Surface: Etching is an important step that enhances the bond between the epoxy and the concrete floor. Use an etching solution (such as muriatic acid) according to manufacturer instructions to open up pores in the concrete surface, allowing better adhesion of the epoxy.
- Rinse and Dry Thoroughly: After etching, rinse off any remaining residue with clean water and allow sufficient time for drying before proceeding further. Moisture trapped beneath the epoxy can lead to bubbling or peeling later on.
Tools and Materials Needed for Garage Floor Prep
To ensure effective preparation of your garage floor for epoxy coating application, gather these essential tools and materials:
- Broom or brush
- Pressure washer or degreaser
- Concrete patching compound
- Trowel
- Etching solution (muriatic acid)
- Clean water source
- Safety equipment (gloves, goggles)
- Squeegee or mop for rinsing
Clearing the Garage
Cleaning the Garage Floor
When it comes to prepping your garage floor for epoxy, one of the first steps is to thoroughly clean the surface. A clean garage floor ensures proper adhesion and a long-lasting finish. Start by removing any items or debris from the floor. This includes sweeping away loose dirt, dust, and leaves. You may also need to clear out any oil stains or spills.
To tackle stubborn stains or oil spots, you can use a degreaser specifically designed for garage floors. Apply the degreaser according to the manufacturer’s instructions and scrub the affected areas using a stiff bristle brush or a pressure washer. Be sure to rinse off all residue thoroughly and allow ample time for drying before proceeding with further preparations.
Repairing Cracks and Imperfections
To achieve a smooth, flawless epoxy finish, it’s essential to address any cracks or imperfections in your garage floor beforehand. Cracks not only compromise the visual appeal but can also impact the longevity of your epoxy coating. Begin by inspecting the entire surface for any signs of damage.
In conclusion, clearing your garage before applying epoxy is a vital step in achieving a durable and visually appealing finish. By thoroughly cleaning the floor, repairing cracks and imperfections, and properly etching the surface, you’ll create an ideal foundation for your epoxy coating. Take your time during this process to ensure each step is done correctly, allowing you to enjoy a beautifully transformed garage space.