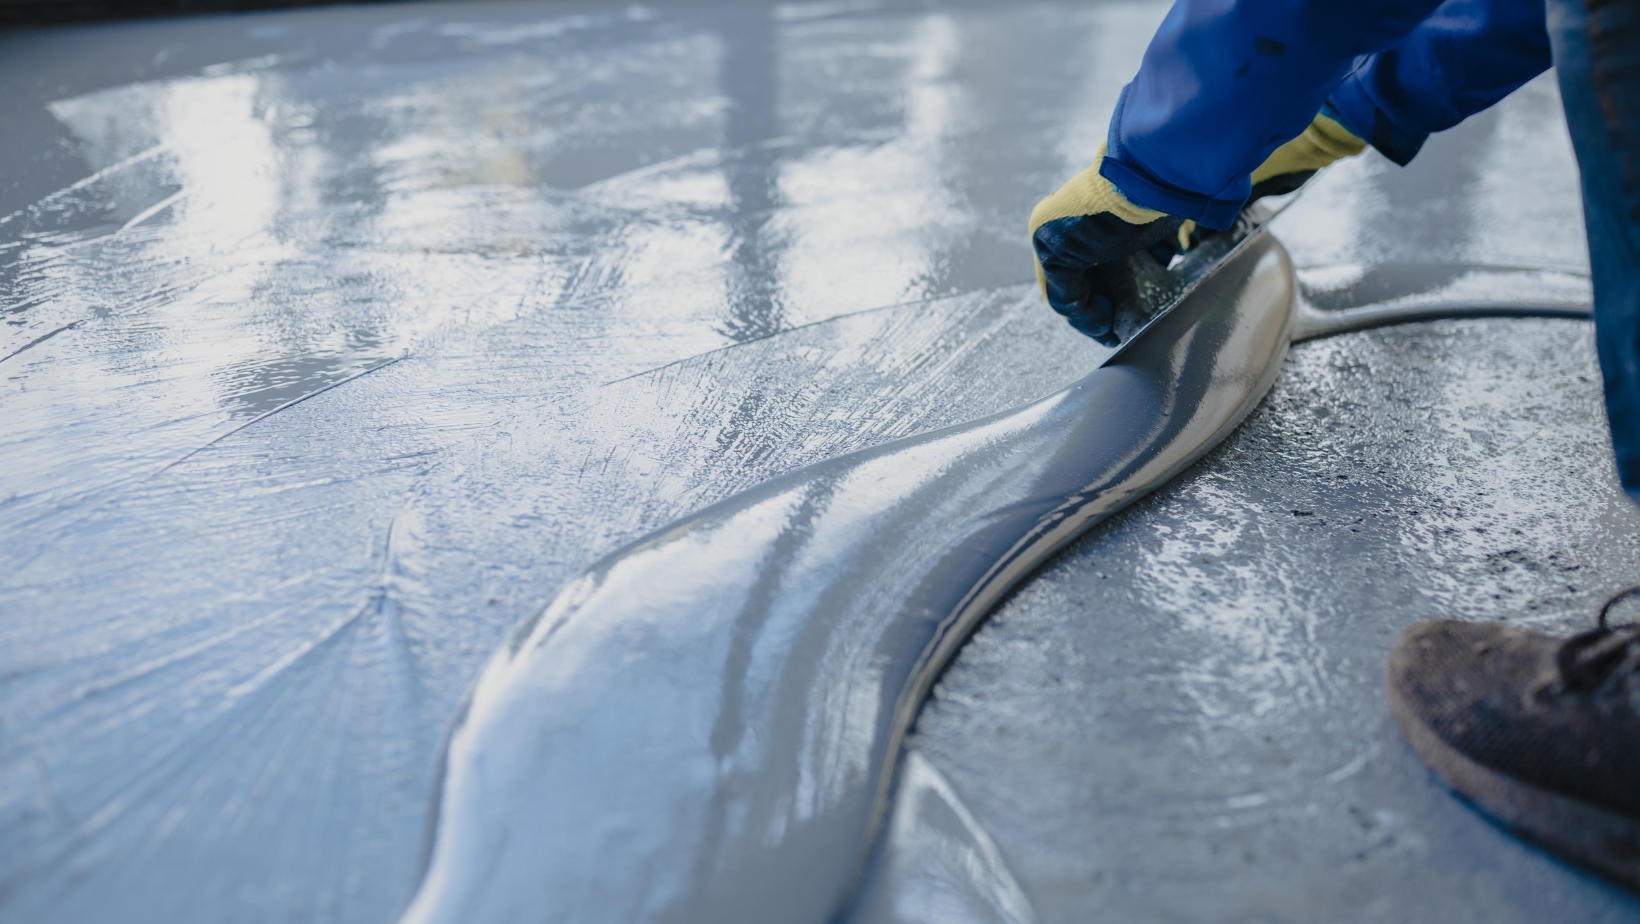
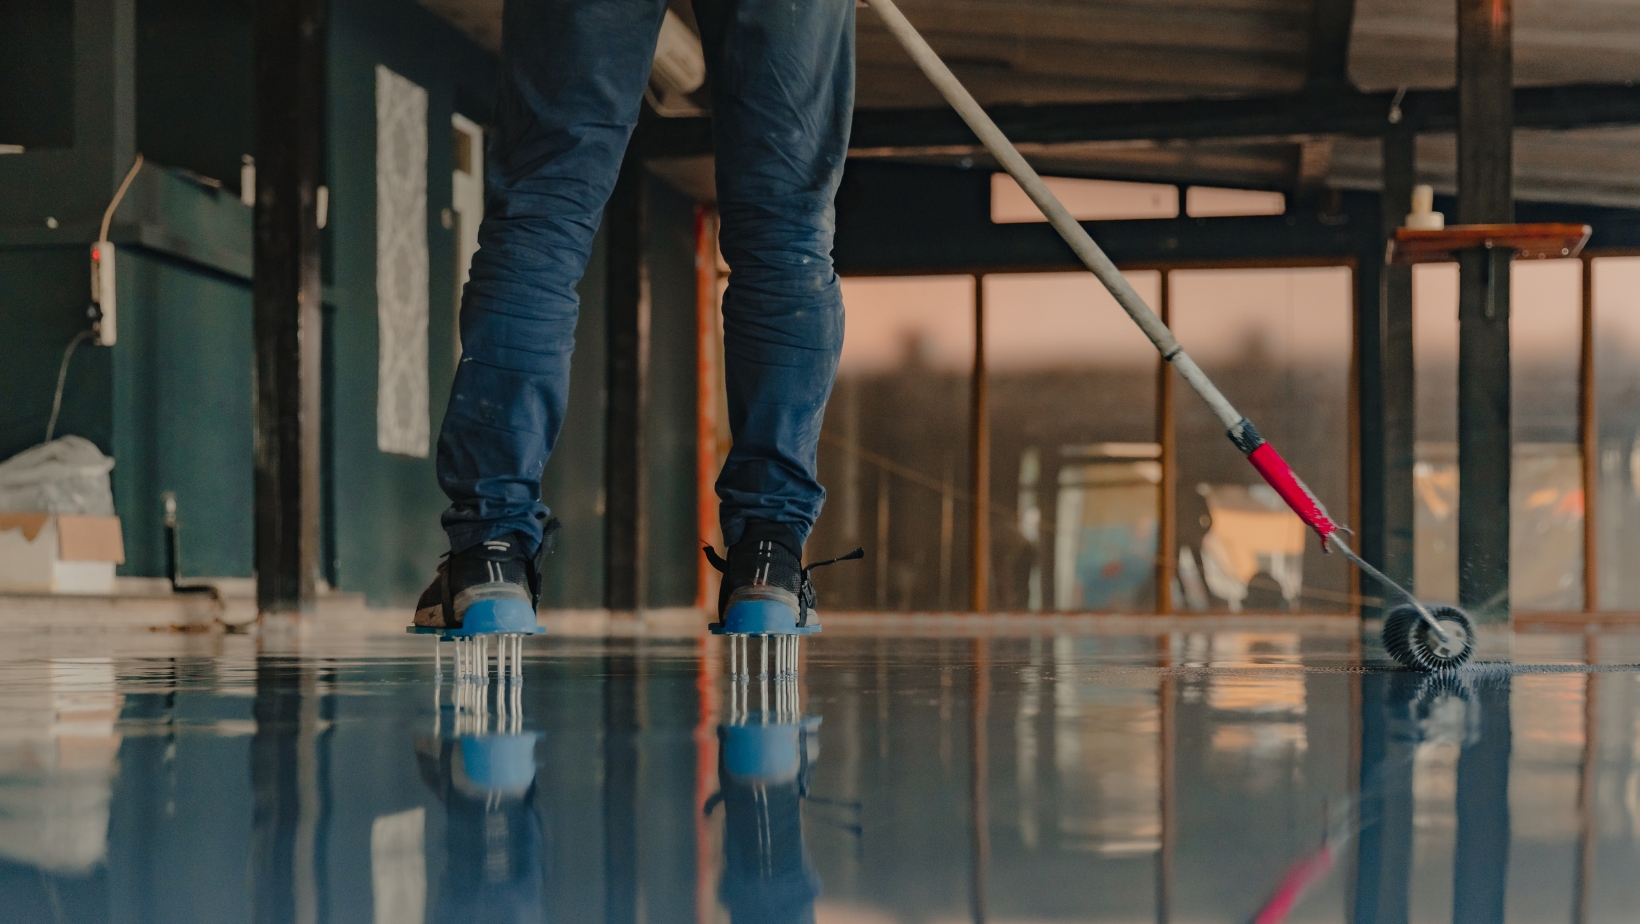
Getting ready to apply epoxy to your garage floor? Prepping the surface properly is key to achieving a durable and long-lasting finish. In this article, I’ll guide you through the steps on how to prep a garage floor for epoxy, ensuring that you get professional-looking results.
Firstly, it’s important to thoroughly clean the garage floor. Remove any items or debris from the area and sweep away loose dirt and dust. Next, use a degreaser or a concrete cleaner to remove any oil stains or other contaminants. Scrub the floor with a stiff brush and rinse thoroughly with water. Allow it to dry completely before moving on to the next step.
After cleaning, you may need to address any cracks or imperfections in the concrete. Fill in small cracks using an epoxy crack filler, following the manufacturer’s instructions. For larger cracks or uneven areas, consider using a concrete patching compound. Smooth out the patched areas with a trowel and let them cure according to the product guidelines.
Lastly, it’s time to etch the garage floor surface. Etching is crucial as it helps create better adhesion between the epoxy coating and the concrete. You can use an acid-based etching solution or go for safer alternatives like mechanical grinding or shot blasting if preferred. Follow all safety precautions provided by your chosen method and ensure proper ventilation during this process.
By following these steps – cleaning, repairing, and etching – you’ll have effectively prepped your garage floor for epoxy application. Taking these measures will help maximize adhesion and ensure that your epoxy coating adheres properly for years of durability and aesthetic appeal.
Table of Contents
ToggleHow to Prep a Garage Floor for Epoxy
Cleaning the Garage Floor
When it comes to prepping a garage floor for epoxy, cleaning is an essential step that cannot be overlooked. Properly cleaning the surface ensures better adhesion and longevity of the epoxy coating. In this section, I’ll walk you through the important steps to effectively clean your garage floor.
Removing oil stains
Oil stains are common on garage floors and can interfere with the bonding of epoxy coatings. To tackle these stubborn stains, begin by sprinkling an absorbent material like cat litter or sawdust over them. Allow it to sit for some time so that it absorbs as much oil as possible. Then use a stiff brush or broom to scrub away the stained area.
For more stubborn oil stains, you may need additional assistance from specialized degreasers or commercial concrete cleaners. Follow the manufacturer’s instructions carefully and make sure to rinse off any residue thoroughly before proceeding with the next steps.
Repairing cracks and potholes
Cracks and potholes in your garage floor should be addressed before applying epoxy coatings. These imperfections not only affect the appearance but also compromise the durability of your flooring system.
To repair small cracks, you can use a crack filler specifically designed for concrete surfaces. Apply it according to the product instructions and smooth out any excess material using a putty knife or trowel.
For larger cracks or potholes, consider using patching compounds that provide stronger adhesion and structural support. Again, follow the manufacturer’s guidelines for application techniques and curing times.

Sanding the Floor
When it comes to prepping a garage floor for epoxy, one crucial step is sanding. Sanding the floor helps create a smooth and clean surface, allowing the epoxy to adhere properly.
Here are some key points to keep in mind when sanding your garage floor:
- Start with the right equipment: To effectively sand your garage floor, you’ll need a high-quality random orbital sander or a diamond grinder. These tools are specifically designed for heavy-duty applications and can handle the tough concrete surface.
- Safety first: Before you begin sanding, make sure to wear protective gear such as safety goggles, a dust mask, and ear protection. Concrete dust can be harmful if inhaled, so take necessary precautions.
- Clear the area: Remove any objects or debris from your garage floor before starting the sanding process. This will ensure that you have an unobstructed workspace and prevent damage to your tools.
- Choose the right grit: The grit of sandpaper determines how aggressive the sanding action will be. For initial roughening of the surface or removing stubborn stains or coatings, start with a lower grit (around 40-60). Once you’ve achieved the desired level of smoothness, switch to a finer grit (around 80-120) for final preparation.
- Work in small sections: Divide your garage floor into manageable sections and focus on one area at a time. This allows you to apply even pressure and ensures that every part of the floor receives equal attention.
By following these steps and taking the time to sand your garage floor correctly, you’ll create an ideal foundation for applying epoxy. Remember, proper preparation is key to achieving a durable and long-lasting finish that will enhance the appearance of your garage while protecting the concrete underneath.


