Pellet Heater for Garage
Installing a pellet heater in your garage can be a great way to keep the space warm and comfortable during the colder months. The installation process for a pellet heater may seem daunting at first, but with the right tools and knowledge, it can be done smoothly. In this article, I’ll walk you through the step-by-step process of installing a pellet heater in your garage.
Firstly, it’s important to choose the right location for your pellet heater. Look for an area where there is enough space and proper ventilation. Ensure that there are no flammable materials nearby and that the heater is positioned away from any combustible surfaces.
Next, gather all the necessary tools and materials needed for installation. This may include a drill, screws, brackets, venting pipe, electrical wiring components, and insulation materials. It’s essential to read through the manufacturer’s instructions carefully to ensure you have everything you need.
Now it’s time to start installing your pellet heater. Begin by assembling any necessary components according to the manufacturer’s instructions. Then secure the brackets or mounting plate onto the wall or floor in accordance with safety guidelines.
Once that is done, connect the venting pipe to allow for proper exhaust ventilation. Make sure to follow local building codes and regulations when routing the venting pipe outside of your garage.
Lastly, connect your pellet heater to an electrical power source following all safety precautions outlined in the manufacturer’s instructions. Double-check all connections before testing out your newly installed pellet heater.
By following these steps carefully and taking necessary safety precautions throughout the installation process, you’ll be able to enjoy a warm and cozy garage with your newly installed pellet heater.
Preparing the Garage for Installation
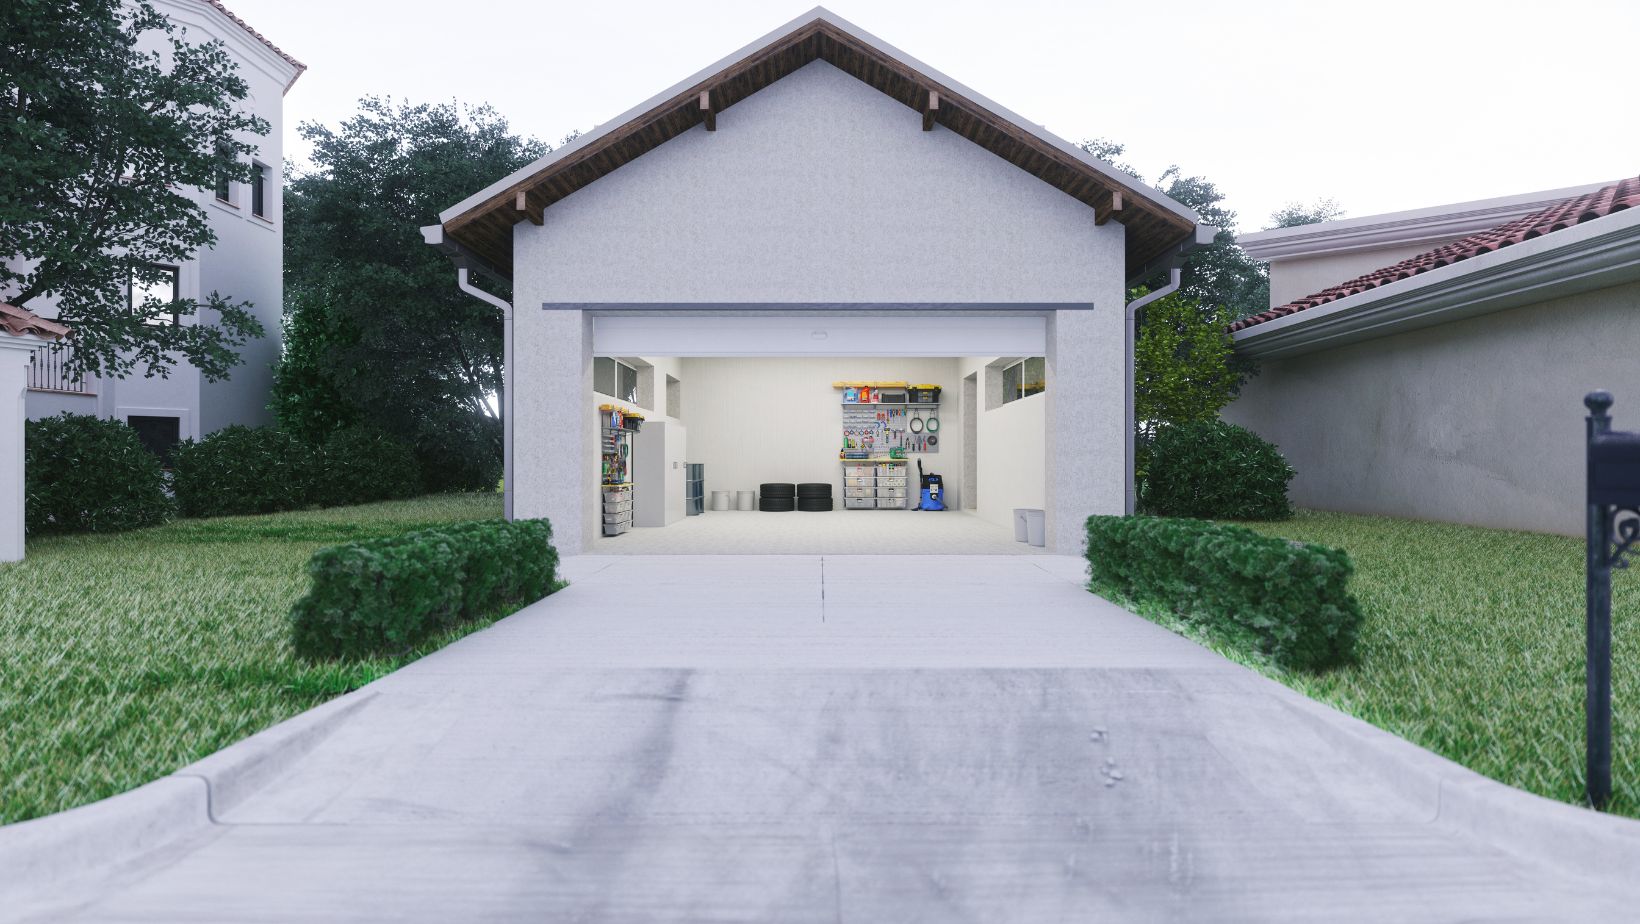
Before diving into the installation process of a pellet heater for your garage, it’s crucial to ensure that your space is properly prepared. Taking the time to prepare your garage will not only make the installation smoother but also help optimize the performance and efficiency of your pellet heater. Here are some essential steps to follow:
- Clear out the area: Start by removing any clutter or obstacles from your garage. This includes tools, equipment, and any other items that might hinder access to the installation site. Clearing out the space will provide a safe and accessible working environment for both you and the installer.
- Check ventilation requirements: Pellet heaters require adequate ventilation to operate efficiently and safely. Make sure your garage has proper ventilation in place or consider installing additional vents if necessary. Good ventilation helps prevent fumes from accumulating inside the garage while ensuring optimal combustion for better heating performance.
- Assess electrical requirements: Pellet heaters typically require an electrical power source to function effectively. Check if your garage has an appropriate electrical outlet nearby or consult with a professional electrician to install one if needed. It’s important to ensure that there is enough capacity in your electrical system to handle the heater’s power needs.
- Evaluate insulation: Proper insulation is key to maximizing heat retention within your garage and preventing energy loss. Inspect the walls, ceiling, doors, and windows of your garage for any gaps or areas that may need sealing or additional insulation material. Enhancing insulation will improve overall heating efficiency and reduce energy costs.
- Consider flooring protection: The installation process may involve moving heavy equipment or tools around, which can potentially damage or scratch your floor surface. To protect against this, consider using protective coverings such as drop cloths or mats during installation activities.
Choosing the Right Pellet Heater
When it comes to selecting the perfect pellet heater for your garage, there are several factors to consider. Making the right choice will ensure efficient heating and a comfortable environment. Here are some key points to keep in mind as you embark on your search:
- Size and Heating Capacity: The size of your garage plays a crucial role in determining the appropriate pellet heater. Consider the square footage of the space you want to heat and match it with a heater that has sufficient heating capacity. It’s important not to undersize or oversize, as this can lead to inefficient operation.
- Efficiency and Performance: Look for a pellet heater that offers high efficiency and optimal performance. Check for Energy Star ratings or certifications that indicate superior energy efficiency. A well-performing unit will effectively convert pellets into heat, allowing you to maximize warmth while minimizing fuel consumption.
- Fuel Consumption and Availability: Assess the availability and cost of pellets in your area before settling on a specific model. Different heaters may have varying fuel requirements, so consider whether it’s easy to find pellets locally or if they need special ordering arrangements.
- Safety Features: Ensure that the pellet heater you choose has essential safety features such as automatic shut-off mechanisms, overheat protection, and proper ventilation systems. These features contribute significantly to safe operation and peace of mind.
- Ease of Installation: Opt for a pellet heater that is relatively easy to install in your garage without requiring extensive modifications or professional assistance unless necessary. Some models may offer user-friendly installation instructions or even provide optional installation services for added convenience.