How to Frame For a Garage Door
A well-framed garage door not only enhances the curb appeal of your home but also plays a crucial role in its security and insulation. In this article, I will delve into the importance of proper framing for a garage door and its impact on energy efficiency, noise reduction, and overall functionality. By understanding the key elements of framing, you will be able to make informed decisions and create a solid foundation for your garage door installation project.
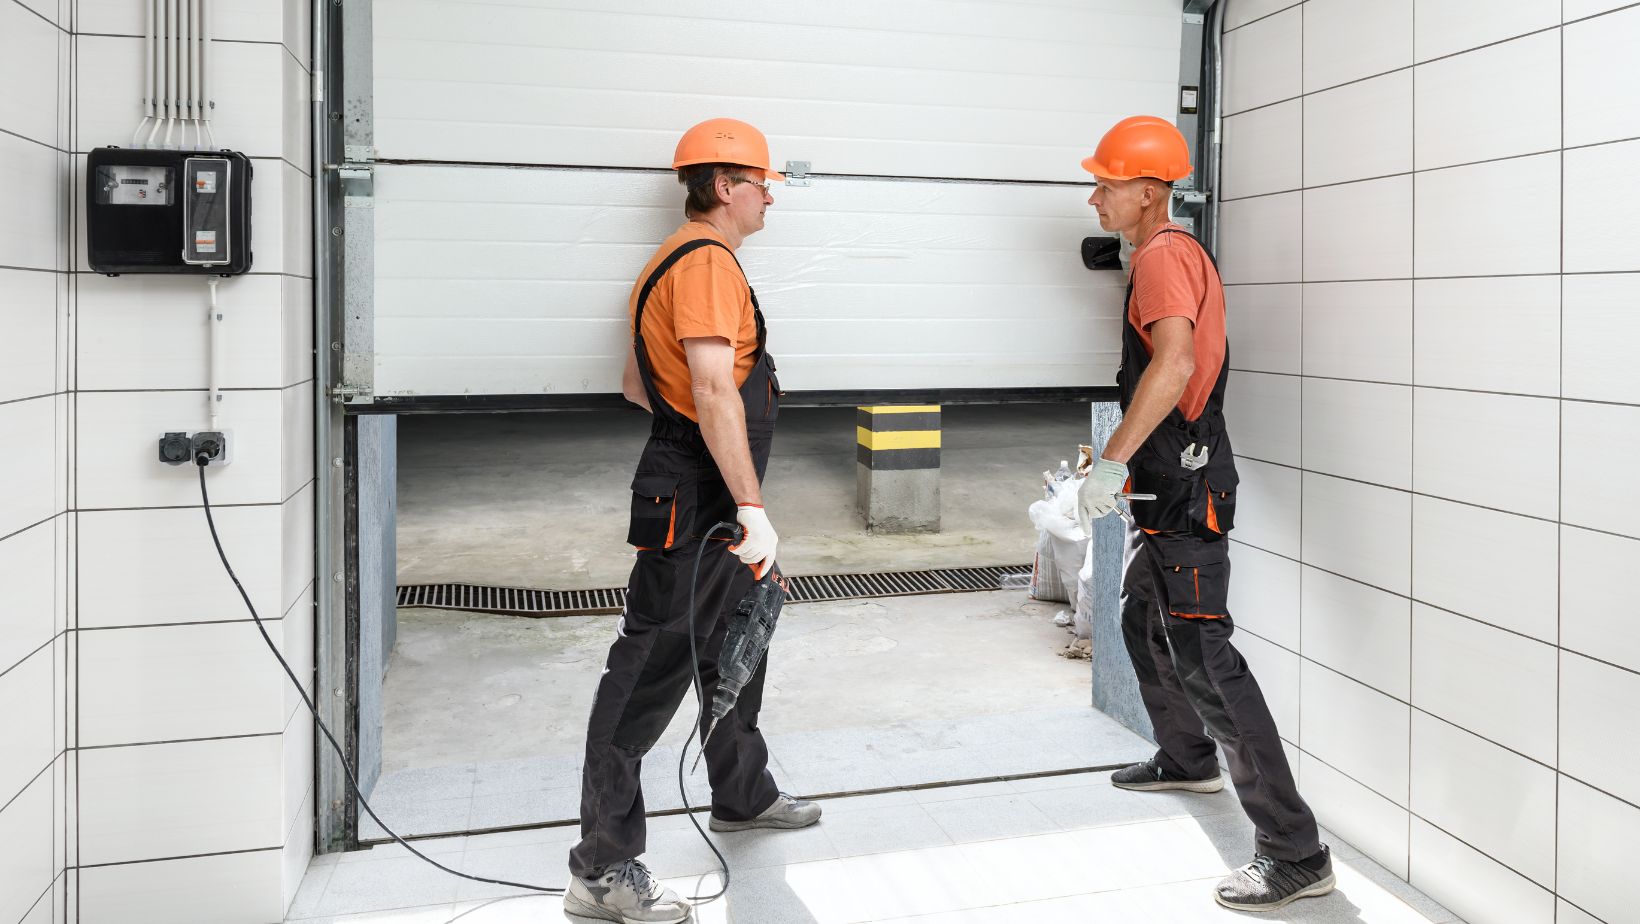
Framing The Opening
Building the Header
To begin, you’ll need to create a sturdy header that spans the width of the opening. Follow these steps:
- Measure the width of the opening and add a few inches for clearance and adjustments.
- Cut a piece of pressure-treated lumber to the desired length for your header.
- Position the header above the opening, making sure it is level and centered.
- Secure the header in place using nails or screws, ensuring it is firmly attached.
A well-built header is essential for supporting the weight of the garage door, so take your time and ensure it is level and secure.
Installing The King Studs
Once the header is in place, it’s time to install the king studs. These vertical supports provide stability and strength to the frame. Follow these steps:
- Measure the height of the opening and cut two king studs to this length.
- Position the first king stud flush with the outer edge of the header and nail or screw it in place.
- Repeat the process on the other side of the header with the second king stud.
Installing The Trimmer Studs
Next, it’s time to install the trimmer studs. These vertical supports connect the king studs to the bottom plate of the wall. Here’s how to do it:
- Measure the distance from the bottom plate to the top of the opening.
- Cut two trimmer studs to this length.
- Position the trimmer studs on either side of the opening, flush with the king studs and the bottom plate.
- Secure the trimmer studs in place using nails or screws.
By installing the trimmer studs, you are completing the framework for the garage door opening and providing additional stability to the structure.
Securing The Header And King Studs
To ensure the strength and durability of the frame, it is important to properly secure the header and king studs. Follow these steps:
- Check the level of the header and adjust if necessary.
- Drive nails or screws through the header into the king studs to secure them together.
- Add additional fasteners at regular intervals to ensure a secure connection.
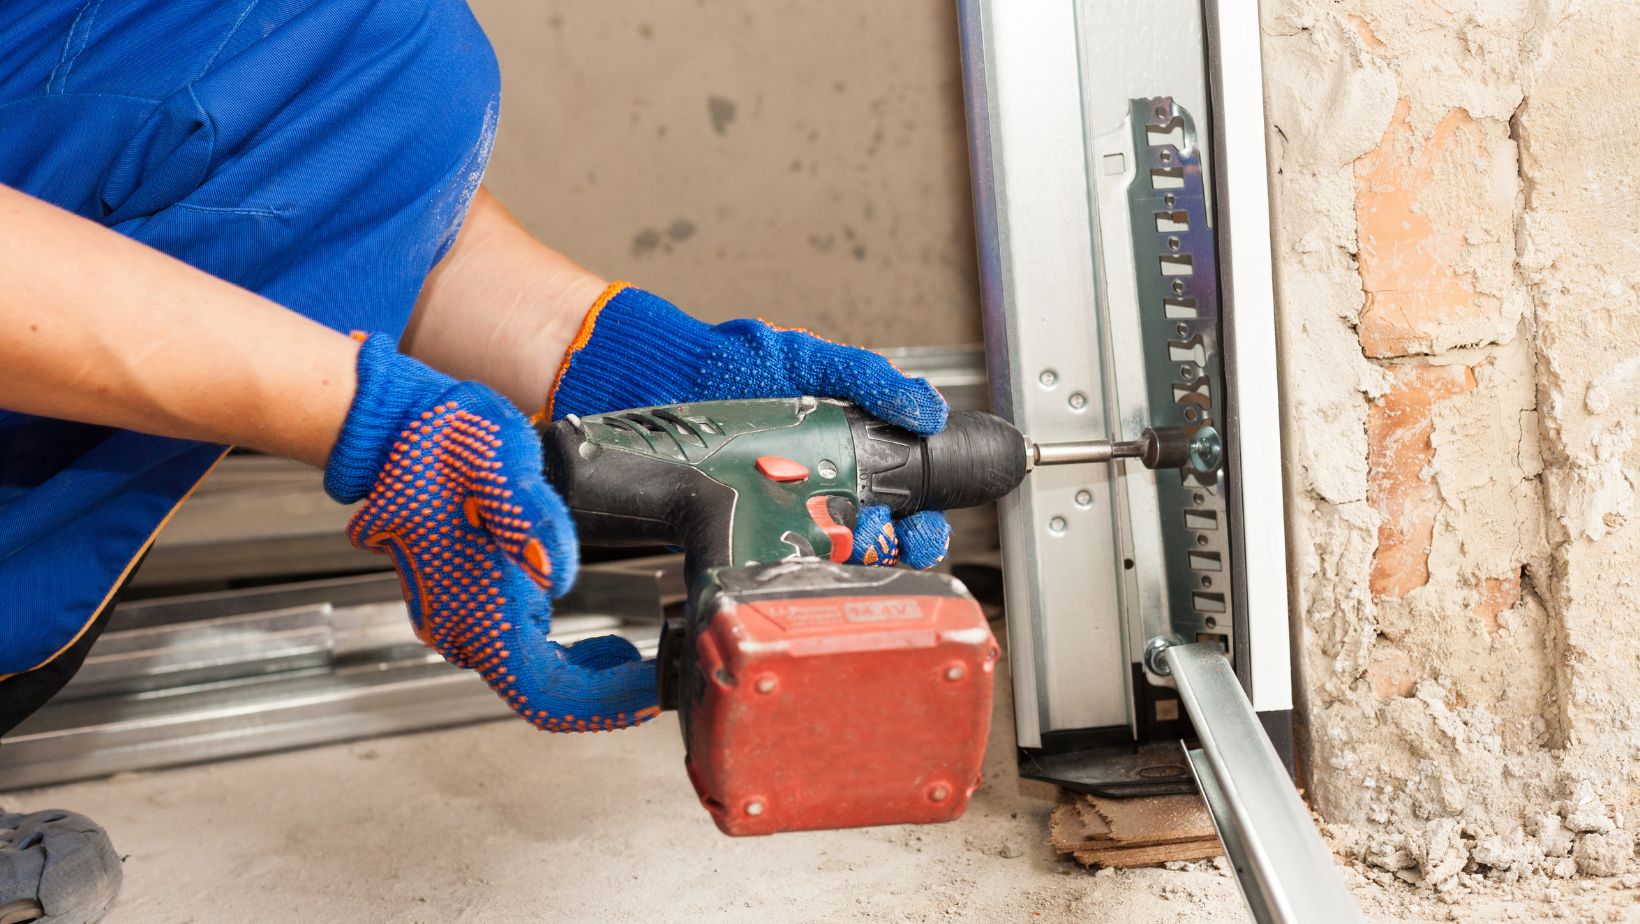
Installing The Door Tracks
Mounting The Vertical Tracks
Start by positioning the vertical tracks on either side of the garage door opening. To ensure proper alignment, use a level to make sure the tracks are plumb. It’s essential to securely attach the vertical tracks to the framing using lag screws or bolts. Make sure to include an appropriate number of brackets to provide ample support along the track’s length, as this will prevent sagging over time. Take care to position the tracks at a consistent distance from the opening, as specified by the manufacturer’s instructions or building codes.
Installing The Horizontal Tracks
Next, it’s time to install the horizontal tracks. These tracks are typically installed parallel to the garage ceiling and located at the top of the opening. Similar to the vertical tracks, take care to ensure the horizontal tracks are level. You can use a ruler or straight edge to verify that the tracks are in alignment. Secure the tracks to the framing using lag screws or bolts, making sure they are firmly attached. Additionally, ensure that the horizontal tracks are level with each other to maintain proper door operation.
Attaching The Brackets
Once the tracks are in place, it’s time to attach the brackets. The brackets serve as a connection point between the door tracks and the door itself. They are crucial for maintaining stability and proper functioning of the garage door. Begin by installing the brackets on the vertical tracks, typically near the top and bottom. Make sure to follow the manufacturer’s instructions regarding bracket placement and spacing. Use appropriate fasteners, such as lag screws or bolts, to securely attach the brackets. It’s essential to position the brackets at the proper height to ensure smooth door operation and prevent any binding.
Conclusion
Framing a garage door is a crucial step in ensuring the functionality, longevity, security, and insulation of your garage door. By following the expert advice provided in this article, you can create a solid foundation for your garage door installation project.
Proper framing involves understanding the necessary materials, measurements, and techniques. The step-by-step guide outlined in this article covers everything from measuring and marking to installing the header and side jambs. These key elements of framing will help you make informed decisions and ensure a successful and durable garage door frame.