Drywall for Garage Ceiling
Looking to upgrade your garage space? One often overlooked area that can make a big difference is the ceiling. A drywall ceiling can transform your garage into a more functional and visually appealing space. In this article, I’ll guide you through the process of installing drywall for your garage ceiling, from preparation to finishing touches. Whether you’re looking to create a workshop, a home gym, or simply want to improve the overall look of your garage, drywall is a fantastic option that provides a clean and professional finish.
When it comes to transforming your garage into a functional and visually appealing space, installing drywall for the garage ceiling is a great choice. Not only does it improve the overall look of the area, but it also offers a range of benefits that make it well worth considering. Let me guide you through some of the key advantages of using drywall for your garage.
Preparing for Drywall Installation
Before beginning the drywall installation process for your garage ceiling, it is important to properly prepare the space. Taking the time to prepare adequately will ensure a smooth and successful installation. Here are some key steps to follow:
- Clear the area: Start by removing any items from your garage that could obstruct the installation process. This includes stored furniture, tool benches, or any other items that may be hanging from the ceiling.
- Inspect the existing ceiling: Take a close look at your current garage ceiling. Look out for any signs of damage, such as water stains or cracks. It is important to address these issues before installing the drywall. Fix any leaks or structural problems, and patch up any holes or cracks to create a solid surface for the drywall.
- Measure and plan: Accurate measurements are crucial to ensure a precise fit for the drywall sheets. Measure the dimensions of your garage ceiling carefully, taking into account any obstructions like light fixtures or vents. With these measurements in hand, create a plan for how the drywall sheets will be positioned on the ceiling.
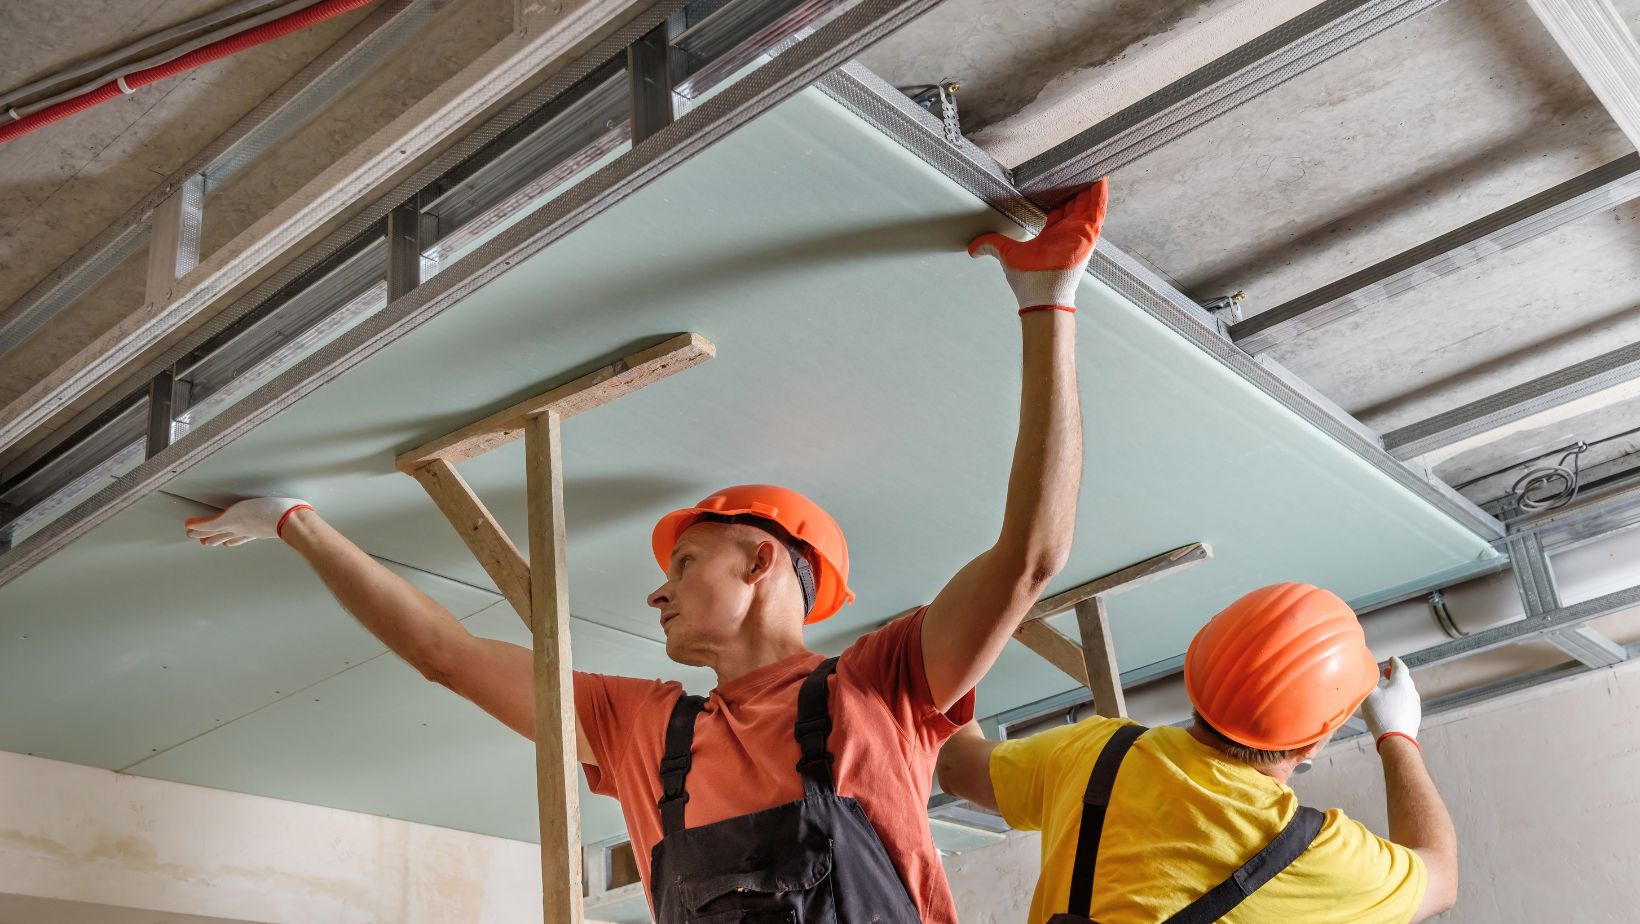
- Gather the necessary tools and materials: To install drywall for your garage ceiling, you’ll need a few essential tools, including a drywall lift or a helping hand to hold the sheets while you secure them. Additionally, gather all the necessary materials, such as drywall screws, joint compound, and drywall tape.
- Prepare the surface: Before installing the drywall, it is important to prepare the surface by applying a coat of primer. Primer helps the drywall adhere better and provides a smoother finish. Make sure to let the primer dry completely before moving on to the installation.
By following these steps and properly preparing for the drywall installation, you’ll be on your way to transforming your garage ceiling into a professional and functional space without the need for a conclusion paragraph. Now let’s move on to the next section: “Drywall Installation Tips and Techniques”.
Tools and Materials Needed
When it comes to installing drywall on a garage ceiling, having the right tools and materials is essential for a successful project. Here are some of the key tools and materials you’ll need:
- Drywall sheets: Measure the dimensions of your garage ceiling and purchase drywall sheets that match these measurements for a precise fit.
- Utility knife: A sharp utility knife will be your go-to tool for cutting the drywall sheets to size and shape.
- T-square: This handy tool helps in creating straight and accurate cuts when scoring and snapping the drywall.
- Drywall lift: A drywall lift is a lifesaver, especially when working on ceilings. It holds the drywall sheets in place, allowing for easier installation.
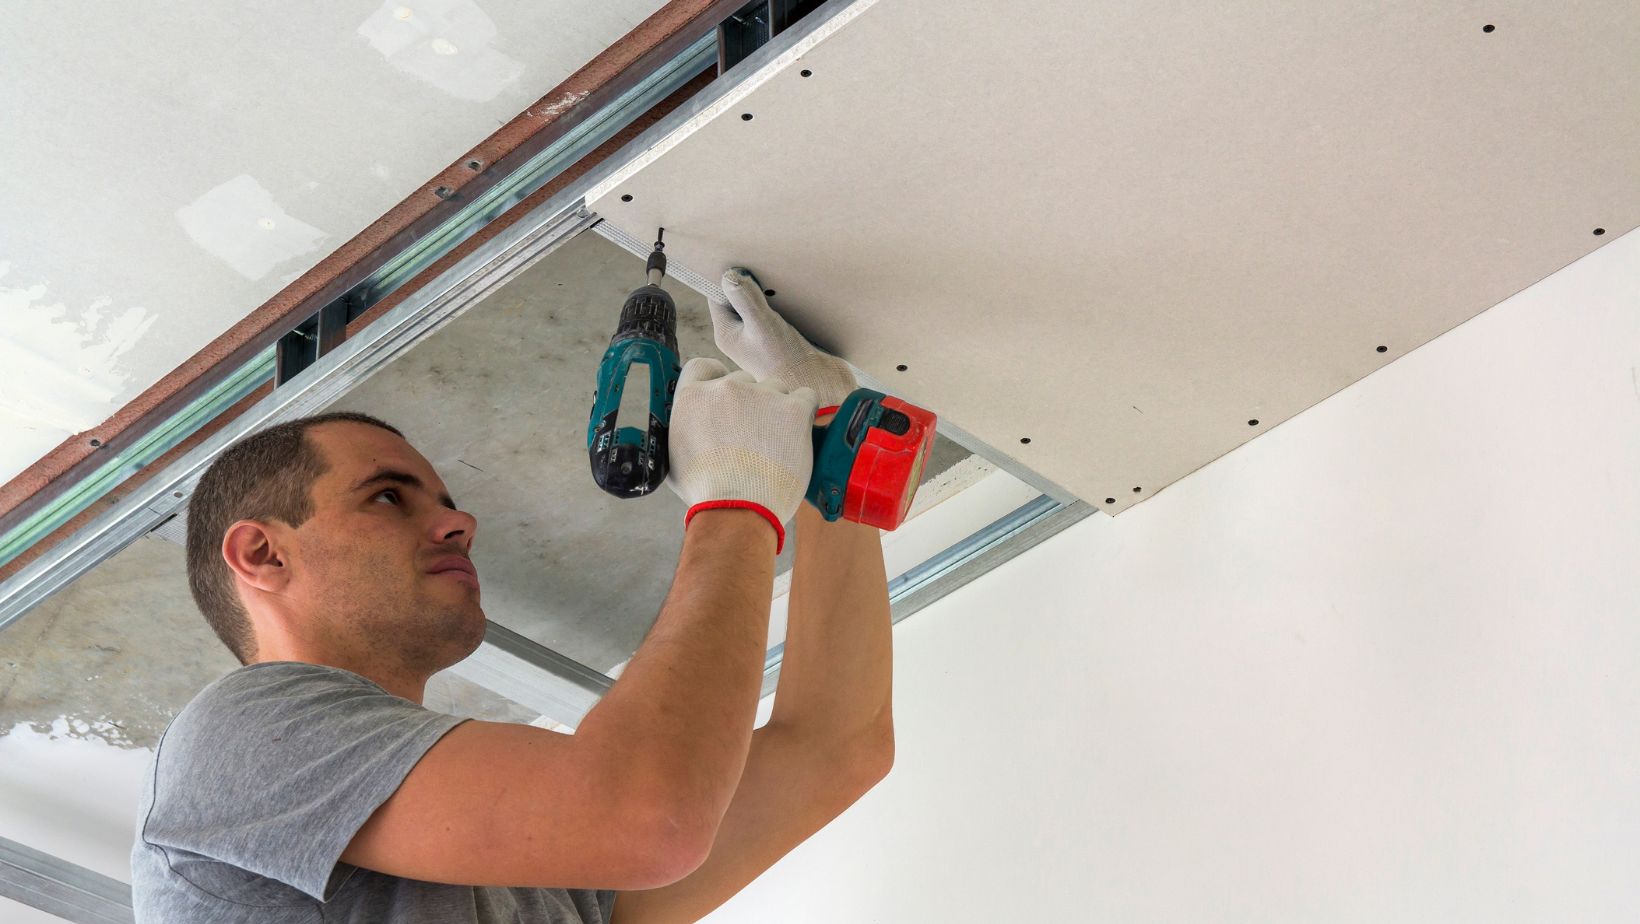
- Screwdriver: Choose a screwdriver that is compatible with the screws you’ll be using to secure the drywall to the ceiling studs.
- Drywall screws: Opt for coarse-threaded drywall screws specifically designed for attaching drywall sheets to wooden studs.
- Mud pan and trowel: These tools are necessary for applying joint compound or mud to seams and screw indentations.
- Sanding block: Smooth out any rough edges or imperfections by using a sanding block after the joint compound has dried.
- Dust mask and safety glasses: Don’t forget to prioritize safety by wearing a dust mask and safety glasses to protect yourself from particles and debris during the installation process.
Having these tools and materials within easy reach will make your drywall installation on the garage ceiling smoother and more efficient. Remember to take the time to gather everything you need before you begin, as it will save you time and frustration in the long run.
Now that we have covered the necessary tools and materials, let’s move on to the next section: Drywall Installation Tips and Techniques.
Conclusion
Installing drywall on a garage ceiling can be a challenging but rewarding project. By following the steps outlined in this guide, you can achieve a professional result that will enhance the appearance and functionality of your garage.
The key to a successful installation is proper preparation. Take the time to clean and smooth the surface before applying the drywall. Accurate measurements and careful planning will ensure you have the right amount of materials for the job.