Table of Contents
ToggleHow to Hang Clothes for a Garage Sale
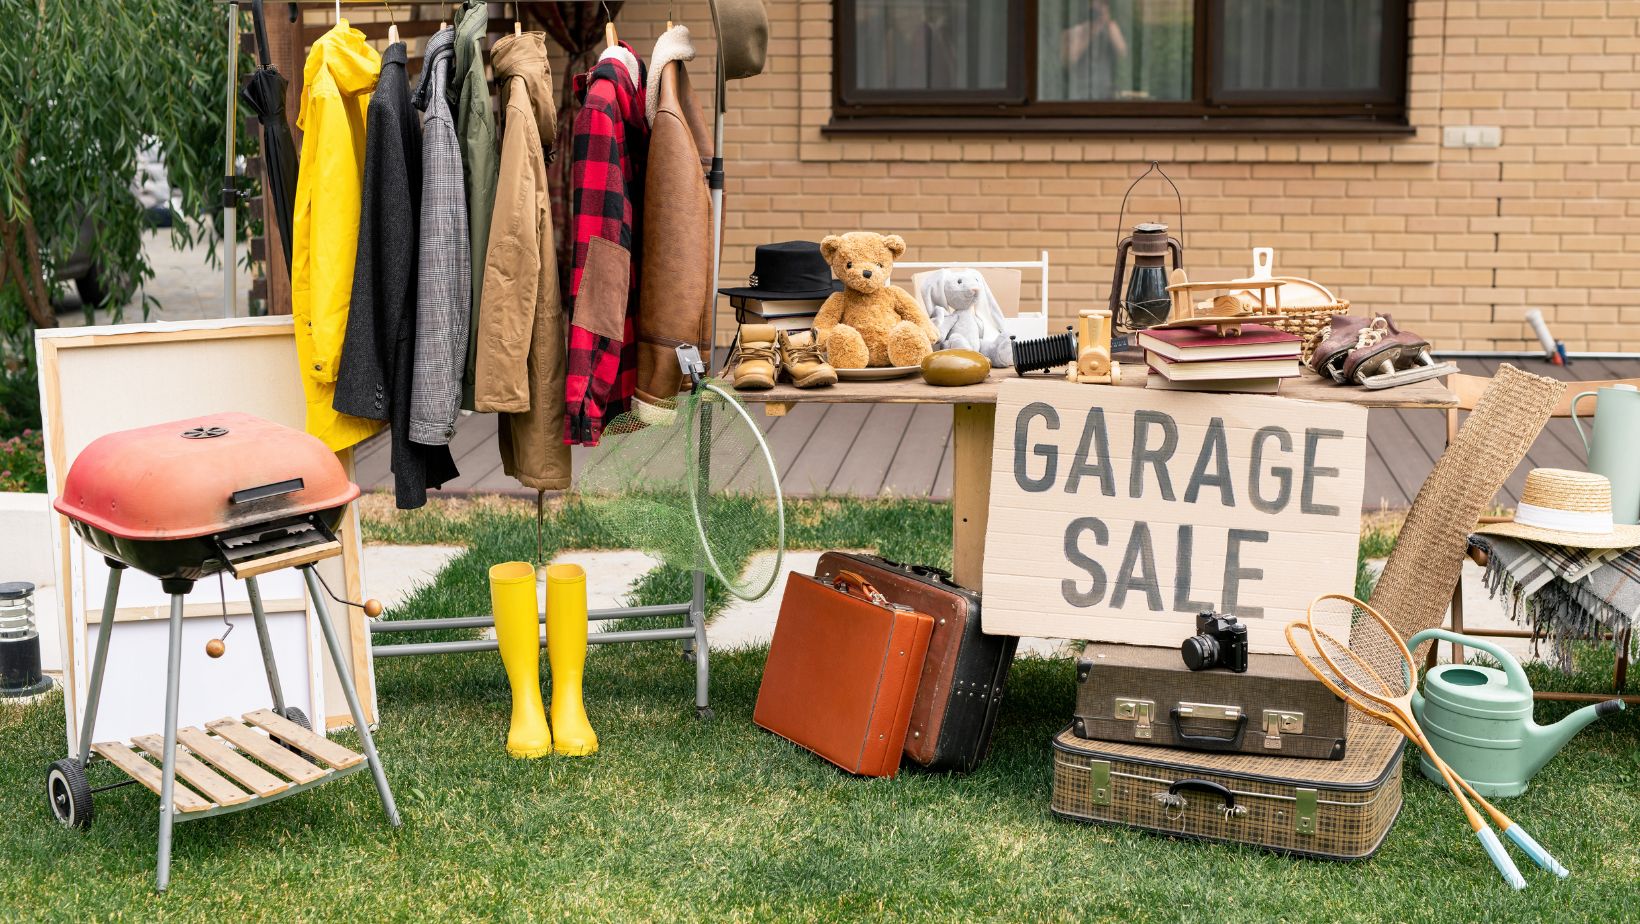
Wondering what you’ll need and how to hang clothes for a garage sale? Look no further! I’ve got all the tips and tricks to help you organize your clothing items for a successful sale.
Firstly, let’s talk about what you’ll need. To properly hang your clothes, you’ll want to gather a few essential supplies. Start with sturdy hangers that can support the weight of different types of garments. Plastic or wooden hangers are great options. Additionally, having garment bags or plastic covers on hand will protect your clothes from dust and potential stains during the sale.
Now, let’s move on to how to hang clothes effectively. Begin by sorting your clothing items into categories such as tops, bottoms, dresses, etc. This will make it easier for shoppers to find what they’re looking for. As you hang each item, make sure they are facing in the same direction with the front visible. This creates a neat and organized display.
Choose the Right Hangers
When preparing for a garage sale, one important aspect to consider is selecting the right hangers for your clothes. The type of hangers you choose can greatly impact how your garments are displayed and ultimately attract potential buyers. Here’s what you’ll need to know about choosing the right hangers for your garage sale:
- Sturdy and Durable: Opt for hangers that are sturdy and durable enough to hold various clothing items without bending or breaking. Look for hangers made of materials like plastic or wood, as they tend to be more long-lasting compared to flimsy wire hangers.
- Different Types: Consider using different types of hangers depending on the nature of the clothing items you’re selling. For example, use regular-sized hangers for adult clothing and smaller ones for children’s garments. Additionally, if you have any delicate fabrics such as silk or lace, opt for padded or velvet-covered hangers to prevent them from slipping off.
- Space-efficient: Make sure the chosen hanger style allows you to maximize space in your display area. Slimline or cascading hangers can be great options as they help save space by allowing clothes to hang closer together without overlapping.
- Uniformity: Although it may seem insignificant, maintaining uniformity in your choice of hangers can give a polished and organized look to your display racks. Consistency in appearance can create a visually appealing shopping experience, making it easier for potential buyers to browse through the items.
- Accessibility: Ensure that the chosen hanger style makes it easy for customers to access and examine each piece of clothing without hassle. Avoid overcrowding clothes on a single rack or using bulky non-slip grip-style hangers that might make it difficult for shoppers to navigate through your merchandise.
By carefully considering these factors when choosing the right hangers for your garage sale, you’ll create an attractive and organized display that will entice potential buyers. Remember, the little details can make a big difference when it comes to presenting your clothes in the best possible light.

Labelling and Pricing Your Items
Labeling and pricing your items is an essential step when preparing for a successful garage sale. It not only helps you organize your merchandise but also makes it easier for potential buyers to navigate through your offerings. In this section, I’ll guide you through the process of labeling and pricing your items effectively.
- Gather Your Materials: Before you begin labeling and pricing, make sure you have all the necessary materials handy. Here’s what you’ll need:
- Price stickers or tags: Choose stickers or tags that are easy to read and remove.
- Marker or pen: Opt for a permanent marker or waterproof pen to ensure the labels stay intact.
- String or safety pins: These will come in handy if you’re attaching price tags to clothing items.
- Index cards or small signs: Use these to create signage for different sections or categories.
- Categorize Your Items: To streamline the labeling process, categorize your items into logical groups such as clothing, books, electronics, etc. This will help both you and potential buyers find specific items more easily.
- Determine Pricing Strategies: There are different approaches when it comes to pricing garage sale items. You can choose one that suits your goals:
- Individual Pricing: Assign a price tag to each item based on its value or condition.
- Group Pricing: Bundle similar items together and assign a single price for the entire group (e.g., “All books $1 each”).
- Tiered Pricing: Offer discounts based on quantity (e.g., “Buy 2 shirts, get 1 free”).
- Set Reasonable Prices: While everyone loves a good bargain at a garage sale, it’s important not to undervalue your items too much. Do some research online or visit local thrift stores to get an idea of fair prices for comparable products.
- Label Clearly: When labeling your items, be sure to write legibly and clearly display the price where it can be easily seen. If you’re using price stickers, attach them securely to avoid any accidental removal.
Remember, the key to successful labeling and pricing at a garage sale is clarity and organization. By following these steps, you’ll create an inviting shopping experience for potential buyers while maximizing your sales potential.


