
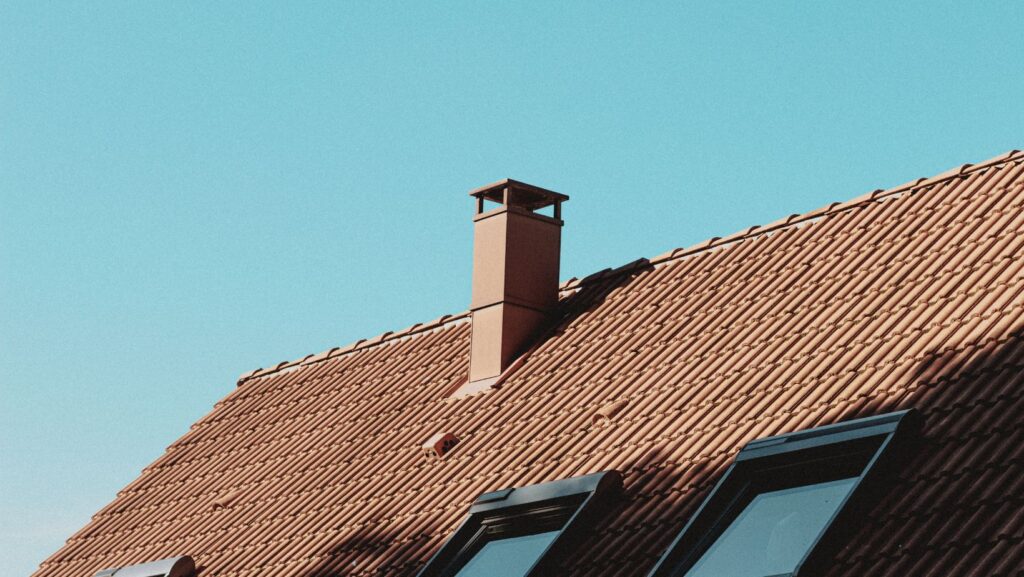
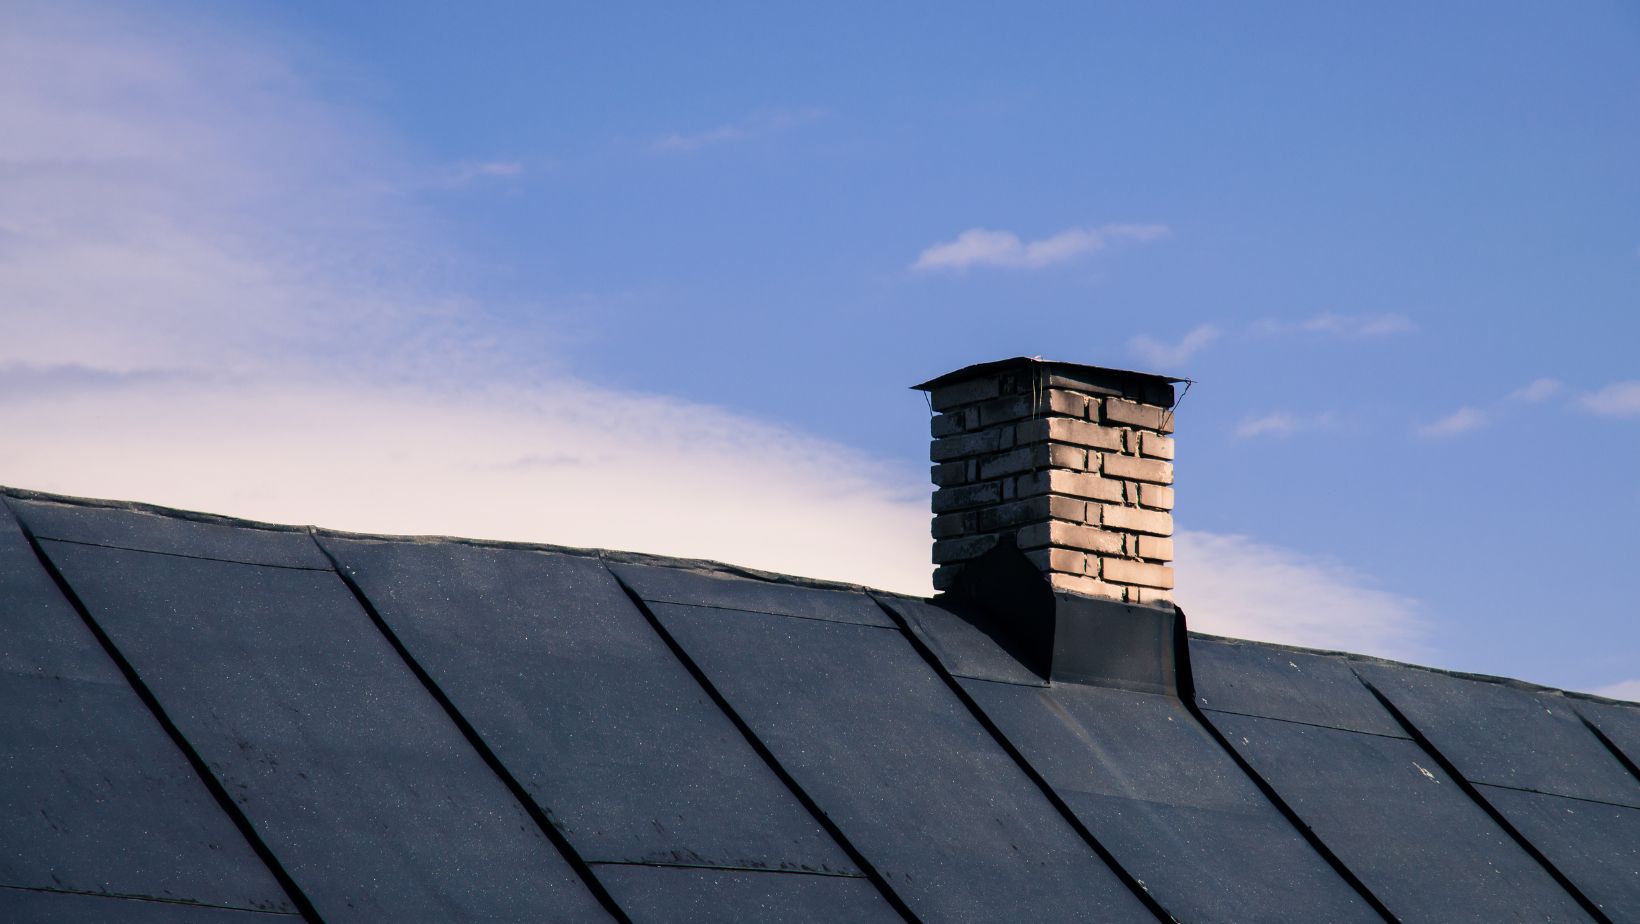
When people think of roof maintenance, their attention often goes to shingles, gutters, or the chimney itself—but one of the most critical components is frequently overlooked: the flashing around the chimney. We will explore how chimney flashing works as a barrier between the elements and your home and how its failure can lead to costly water damage. Flashing is typically made from metal and is installed where the chimney intersects with the roof to seal that joint and direct water away.
Rainwater can easily seep without it into the crevice between the roofline and the chimney, entering the attic or ceiling spaces. Water intrusion doesn’t take much to begin rotting wood, warping drywall, or encouraging mold growth. Flashing protects against leaks, even during heavy storms, when adequately installed and maintained. Yet if it corrodes, shifts, or is installed incorrectly, it becomes a weak point that compromises the whole roof system.
Ways chimney flashing works as a barrier
How Chimney Flashing Works with the Roof System
Chimney flashing is not a standalone element—it functions as part of the broader roofing system designed to guide water off the house and keep it from reaching internal structures. Flashing typically includes base, counter-flashing, and step flashing installed in multiple layers. These components work together to form a watertight seal around the chimney. Base flashing sits under the roofing material and runs up the side of the chimney, while counter-flashing is placed into mortar joints on the chimney and overlaps the base to prevent water from getting behind it. Step flashing is layered with shingles to guide water downward, preventing pooling. Each piece plays a role and must work together to provide complete protection.
The importance of proper overlap, sealing, and placement cannot be overstated. Even a small gap or loose edge can become a pathway for water to enter. Over time, weather conditions like wind, snow, and temperature fluctuations can lift or separate flashing layers. Ice expansion can push metal out of place in freeze-thaw climates, further exposing the structure beneath. If flashing is installed incorrectly or poorly maintained, it becomes one of the most common causes of roof leaks. Because of its placement and function, flashing is difficult to monitor from ground level, so issues can persist unnoticed until water damage becomes visible inside the home. Understanding how chimney flashing integrates with your roof system allows homeowners to prioritize it during inspections or when planning repairs.
Common Signs of Flashing Problems and Why They Matter
Identifying issues with chimney flashing early can save significant time and money. The signs of failing flashing are often subtle at first—water stains near the ceiling, peeling paint near the chimney, or a musty smell in the attic. These symptoms may appear slowly but indicate that moisture is making its way inside. More visible signs include rusted or warped flashing around the chimney, missing shingles near the base of the chimney, or water dripping during rainstorms. Left unchecked, these problems worsen over time and may lead to structural damage, including rotted wood framing, compromised insulation, and mold growth. Water may even travel far from its entry point, causing damage in other rooms or walls, which can mislead homeowners about the source of the issue.
Repairing water damage is costly and labor-intensive, often involving drywall removal, repainting, and wood replacement. Proper flashing prevents these scenarios altogether, so keeping an eye on it matters. Routine roof inspections, especially after heavy storms, can help catch minor issues before they become more prominent. Homeowners may also notice granule loss on shingles near the chimney—a sign that water is not adequately diverted and is wearing down nearby materials. If flashing fails due to corrosion, age, or poor installation, it should be replaced quickly. Addressing flashing problems early ensures the integrity of your roof and protects the living space below from the costly impact of water intrusion.
Materials and Installation Methods That Make a Difference
The material and technique used for chimney flashing directly affect how long it will last and how well it will perform. Common flashing materials include aluminum, copper, galvanized steel, and lead. Each has strengths and weaknesses depending on climate, aesthetic preference, and roof type. Aluminum is lightweight and affordable but prone to corrosion over time, especially in salt-heavy environments. Copper is more durable and weather-resistant, aging to a natural patina that appeals to many homeowners. Galvanized steel is standard but can rust if the protective coating wears off. Lead, while traditional, is less common today due to health and environmental concerns. Installation methods are just as important as material choice.
Flashing must be securely embedded into the chimney mortar joints, appropriately sealed, and overlapped to form a seamless shield. Poor workmanship can negate even the most durable materials. Additionally, flashing must be custom-fitted to the slope of the roof and the exact dimensions of the chimney to ensure complete coverage. Caulking or sealants alone are not enough to create a watertight seal—they must be used in conjunction with correctly layered metalwork. When flashing is part of a new roof installation, integrating seamlessly is often easier. However, when retrofitting or repairing, precision and attention to detail are key. Replacing flashing may involve removing surrounding shingles, inspecting roof decking, and reinstalling protective underlayment. Investing in proper flashing installation upfront can prevent years of hidden damage and ongoing maintenance issues for homeowners.
Maintenance Tips and Long-Term Protection
Even well-installed flashing requires regular attention. Seasonal changes, weather exposure, and natural aging can all affect how it performs. Homeowners should schedule roof inspections at least once a year, with additional checks after significant storms. During these inspections, flashing should be examined for signs of rust, cracks, lifting edges, or sealant failure. Removing leaves or debris around the chimney also helps prevent moisture from pooling and soaking into vulnerable areas. For older homes, chimney flashing may not meet modern standards and could require upgrading. A common issue in aging flashing is that mortar joints may have deteriorated, causing counter-flashing to loosen and expose the base flashing below.
Water can get behind the flashing layers and enter the home when this happens. Keeping gutters clean and ensuring proper drainage from the chimney base also helps reduce wear. Small repairs—such as resealing lifted edges or replacing a rusted section—can often extend the life of the flashing without requiring full replacement. When more extensive repairs are needed, homeowners should look for dependable, budget-friendly service providers. Many people benefit from hiring professionals who offer affordable chimney repair services that address both chimney and roofing issues. Coordinated repair work ensures that flashing integrates well with both structures and doesn’t leave any weak spots.
Chimney flashing might seem minor, but it is significant in safeguarding your home from water damage. Flashing prevents moisture from sneaking into your home’s structure by sealing one of the most vulnerable intersections on your roof. Overlooking its condition can result in slow, hidden damage that leads to expensive repairs and ongoing maintenance headaches.

Recognizing the signs of failure, understanding how flashing works with your roof system, and knowing when to call for repairs can make all the difference in keeping your home safe, dry, and structurally sound. It’s a detail that demands attention, not because it’s flashy or prominent, but because it quietly does some of the most essential work on your roof. With proper installation, regular maintenance, and timely intervention, chimney flashing will continue to serve as an essential shield against the elements—protecting your home from the top down.