
Refinishing hardwood floors is a rewarding task that can significantly enhance the beauty of your home. However, before you can begin this process, it is crucial to address any existing scratches and dents. These imperfections can affect the final look and longevity of your refinishing work. Taking the time to properly prepare your hardwood floors ensures that the refinishing process will yield a flawless finish. Not only does this improve the aesthetic appeal of your floors, but it also extends their lifespan. Addressing damage beforehand means you won’t have to refinish your floors as frequently, saving you time and effort in the long run.
Understanding Floor Damage Before Refinishing
Before you embark on the refinishing journey, it’s important to understand the types of damage your hardwood floors might have sustained. Scratches and dents are the most common forms of damage, and they vary in severity. Superficial scratches may only impact the surface layer, while deeper ones can penetrate through the finish and into the wood itself.
Dents, on the other hand, occur when heavy objects impact the floor, compressing the wood fibers. Unlike scratches, which can sometimes be buffed out, dents may require more intensive treatment. Identifying the extent and type of damage is crucial to determining the appropriate method for repair. Working with trusted Atlanta hardwood floor refinishing services can help you choose the best approach to restore your floor’s original beauty. Their expertise guides you through each step of the repair process, ensuring that your efforts are both effective and efficient.
Step 1: Cleaning and Inspecting Your Hardwood Floors
The first step in preparing your hardwood floors for refinishing is to thoroughly clean and inspect them. Begin by removing all furniture and rugs to ensure you have a clear view of the entire floor area. Sweep or vacuum the floor to eliminate dust and debris, and then mop with a gentle hardwood floor cleaner to remove any remaining dirt.
Once the floor is clean, carefully inspect it for scratches and dents. Use bright, natural light to identify any imperfections that may not be immediately visible. Pay special attention to high-traffic areas where damage is most likely to occur. Make a note of any areas that require treatment, as this will help you stay organized during the repair process.
Taking the time to properly clean and inspect your floors sets the stage for successful repair and refinishing. A clean surface ensures that treatments adhere properly, while a detailed inspection allows you to address all areas of concern.
Step 2: Treating Surface Scratches
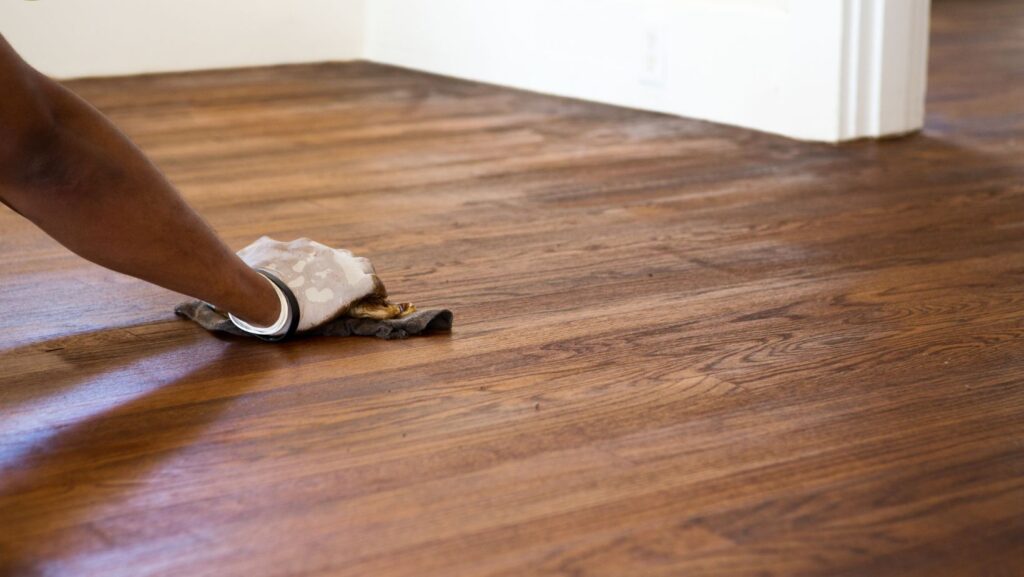
Surface scratches are usually the easiest to repair and can often be treated using simple methods. Begin by lightly sanding the scratched area with fine-grit sandpaper, using gentle circular motions. This helps to smooth out the scratch and prepare the surface for further treatment. Be careful not to over-sand, as this can damage the wood.
After sanding, clean the area with a damp cloth to remove any dust. Apply a matching hardwood floor stain or touch-up pen to the sanded area to restore the color. Allow the stain to dry completely, and then apply a thin layer of floor finish or sealant to protect the repaired area.
For minor surface scratches, you may also consider using a commercial scratch repair product. These are often wax-based and can be buffed into the scratch to fill and conceal it. Always test any product on an inconspicuous area first to ensure compatibility with your floor’s finish.
Step 3: Filling and Sanding Deeper Scratches
Deeper scratches require a more intensive approach, as they penetrate through the finish and into the wood. Start by cleaning the scratched area to ensure it is free of dust and debris. Next, use a wood filler that matches the color of your floor to fill the scratch. Apply the filler with a putty knife, pressing it firmly into the scratch and smoothing the surface.
Allow the wood filler to dry according to the manufacturer’s instructions. Once dry, sand the area using fine-grit sandpaper to level the filled scratch with the surrounding floor. Be cautious not to sand too aggressively, as this can create an uneven surface.
After sanding, clean the area again to remove any dust. Apply a matching stain to the sanded area to blend it with the rest of the floor. Finish by applying a protective sealant to ensure the scratch remains concealed, and the repair is durable.
Step 4: Lifting Dents With Steam or Wood Fillers
Dents can be challenging to fix, but with the right techniques, they can be effectively addressed. One popular method for lifting dents involves using steam. Place a damp cloth over the dent and apply a hot iron to the cloth. The steam generated causes the wood fibers to swell, lifting the dent. Be sure to move the iron continuously to prevent scorching the wood.
If steaming does not fully lift the dent, or if the dent is particularly deep, consider using a wood filler. Similar to treating deep scratches, apply the filler with a putty knife, ensuring its level with the surrounding area. Once dry, sand the area smoothly and finish with a matching stain and sealant.
Addressing dents is crucial for ensuring a smooth and even floor surface. By employing these techniques, you can effectively restore your hardwood floors to their original state, ready for refinishing.
Step 5: Ready for Refinishing: Ensuring a Flawless Surface
With all scratches and dents repaired, your hardwood floors are now ready for the refinishing process. Before sanding, it’s important to properly prepare the wood surface to ensure even adhesion of waterborne finishes. Conduct a final inspection to ensure all areas have been adequately repaired.
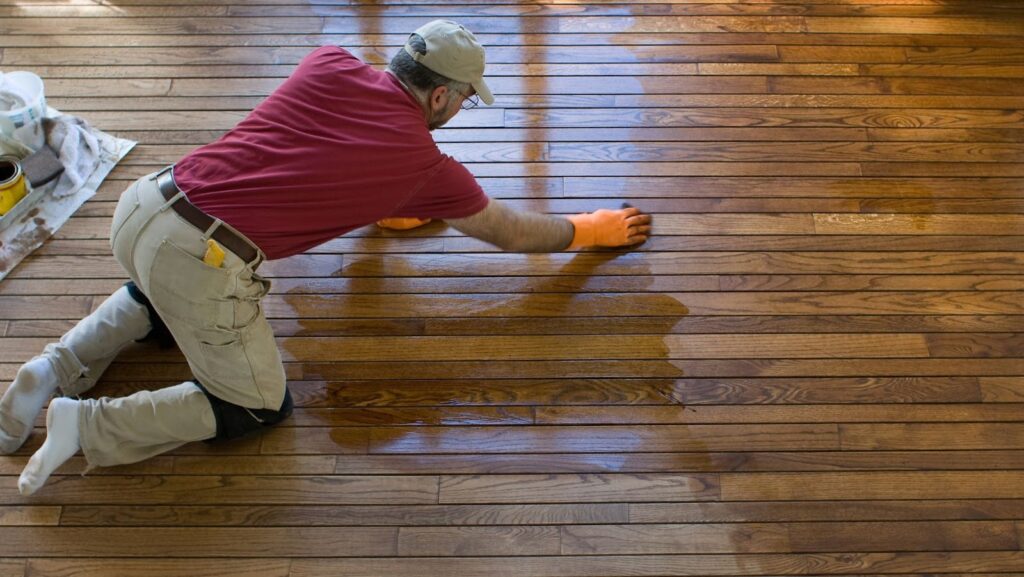
Once satisfied with the repair work, proceed with the refinishing process. This typically involves sanding the entire floor to remove the old finish and create a smooth surface. After sanding, clean the floor thoroughly to remove all dust particles, as these can interfere with the adhesion of the new finish.
Apply your chosen finish according to the manufacturer’s instructions, ensuring even coverage. Allow sufficient drying time between coats for the best results. The refinishing process not only enhances the appearance of your floors but also provides a protective layer that preserves their beauty.
Summary
Following these comprehensive steps allows you to effectively remove scratches and dents from your hardwood floors, preparing them for a flawless refinishing. The time and effort invested in the repair process ensure a high-quality finish that enhances both the look and durability of your floors. Remember, regular maintenance and prompt attention to any damage can extend the life of your hardwood floors and postpone the need for future refinishing. A well-maintained floor not only looks beautiful but also adds value to your home.